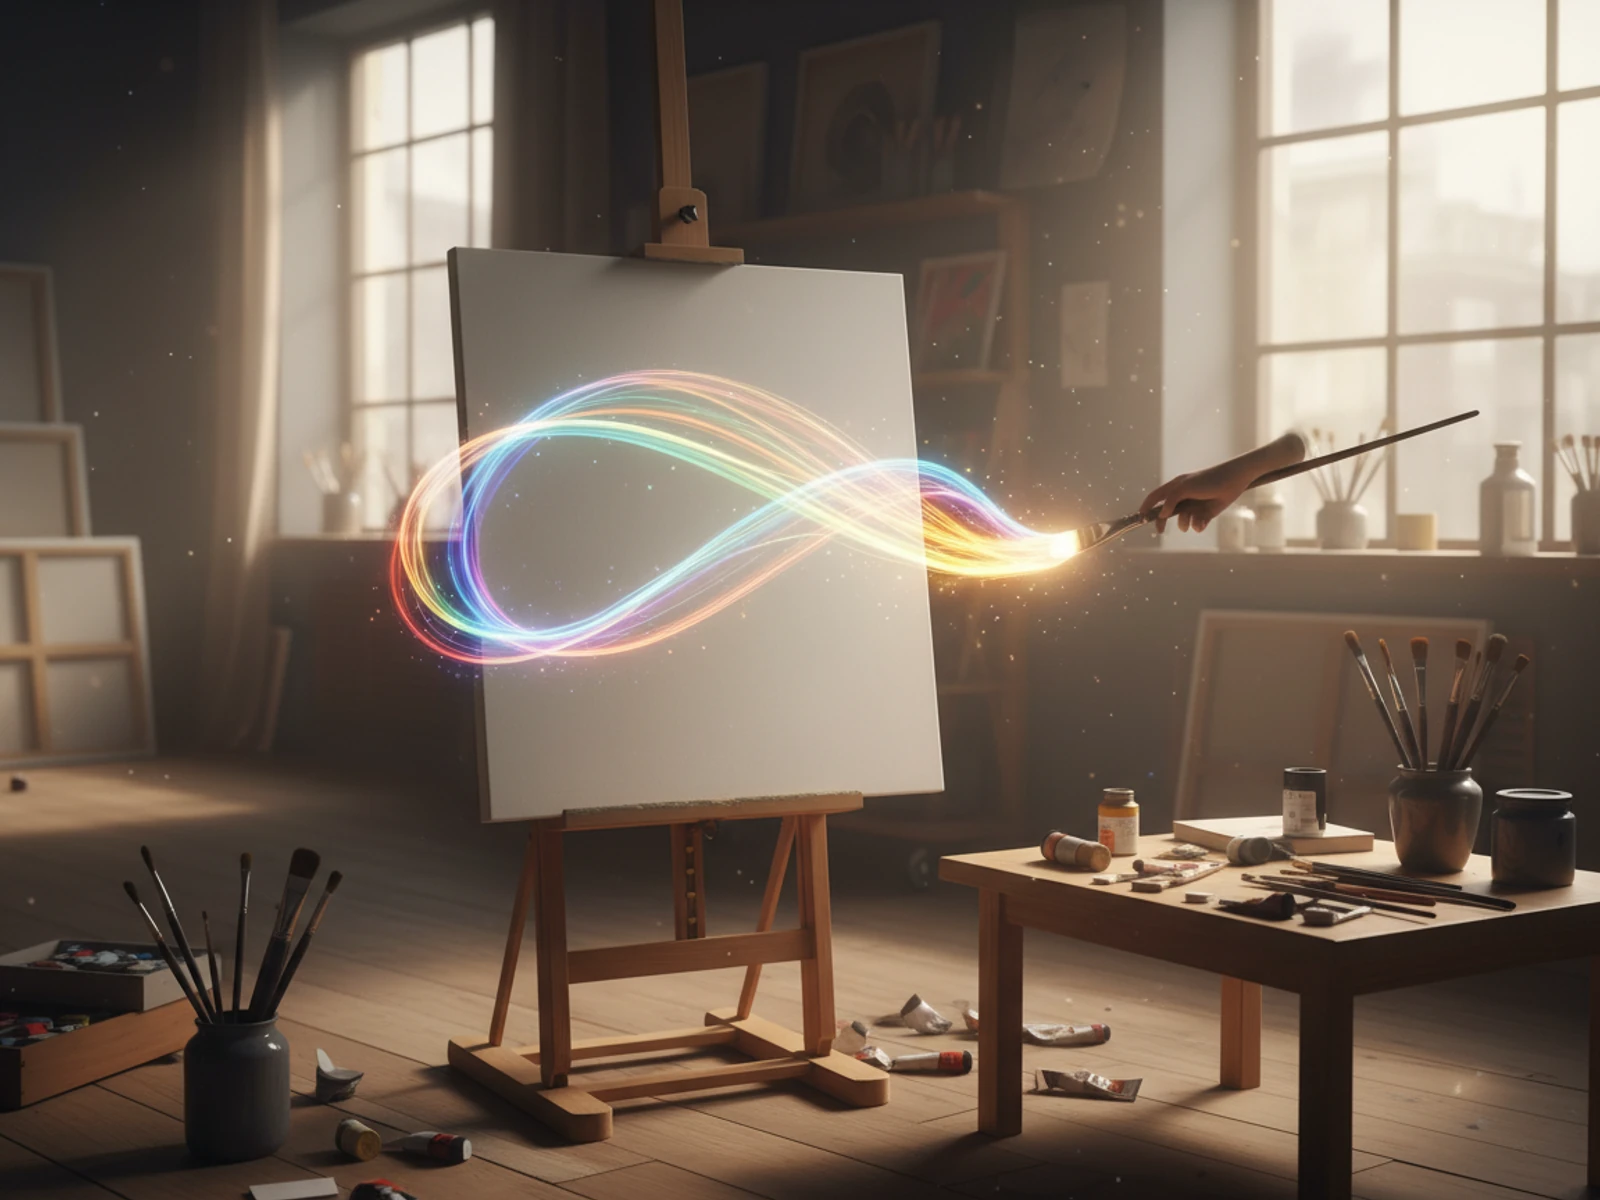
A smiling portrait. One click. Seconds later the face splits open — grey decaying skin, dark veins crawling across the cheek, fangs bared in a full-throated scream. That is Zombie Mode on Van Gogh Studio: a Pixverse-powered horror effect built for Halloween posts, prank videos, and jump-scare edits.
What Is the Zombie Mode Effect?
Zombie Mode takes a single portrait photo and animates a progressive undead transformation on the subject's face. The AI preserves your bone structure and expression timing, then layers on zombie makeup in motion: ashen skin, sunken eyes, torn flesh around the mouth, and a wide scream. It works on selfies, group shots, and even profile photos — the effect targets faces, so a clear front-facing shot gives the most dramatic result.
| Before (normal portrait) | After (Zombie Mode) |
|---|---|
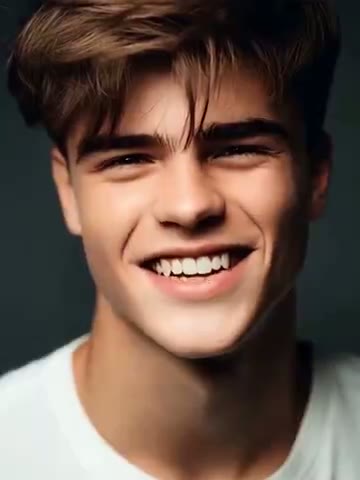 | 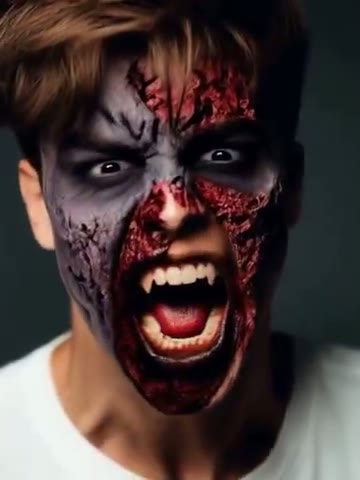 |
The clip is short (5–8 seconds) but the scare lands fast — ideal for TikTok horror trends, Discord avatars brought to life, or Halloween party invites.
How to Create a Zombie Mode Video
Step 1: Open the Zombie Mode Effect Page
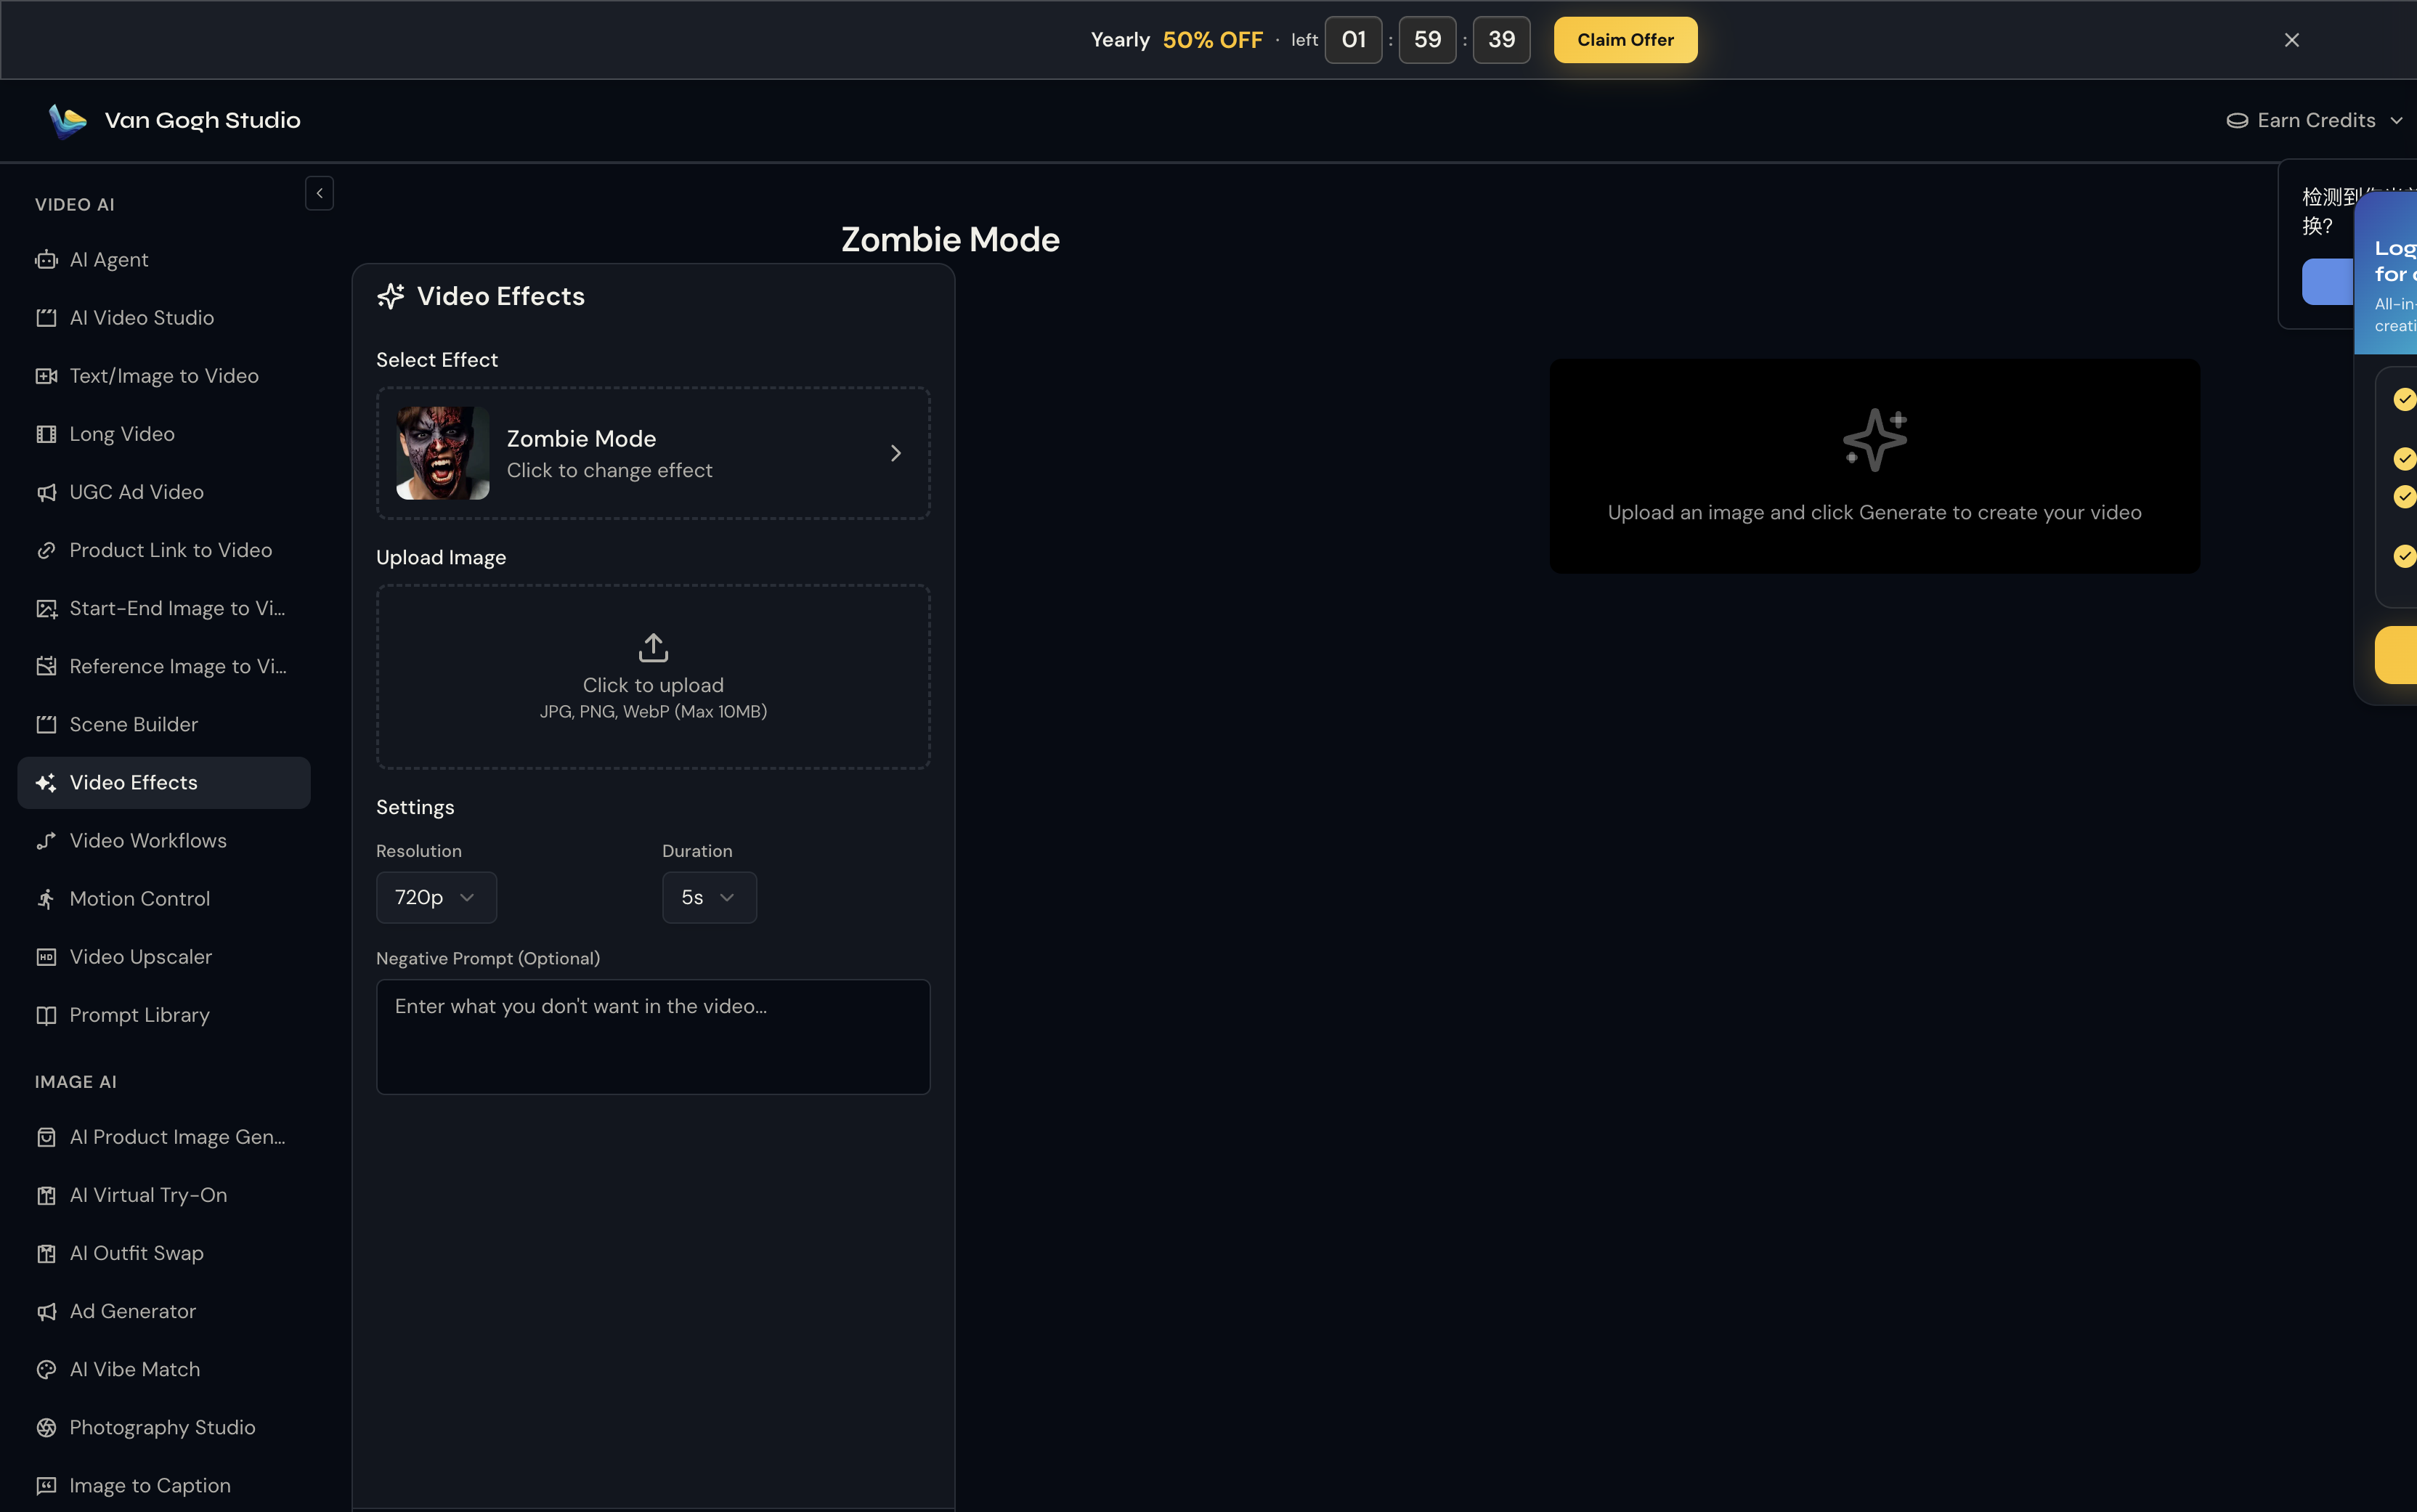
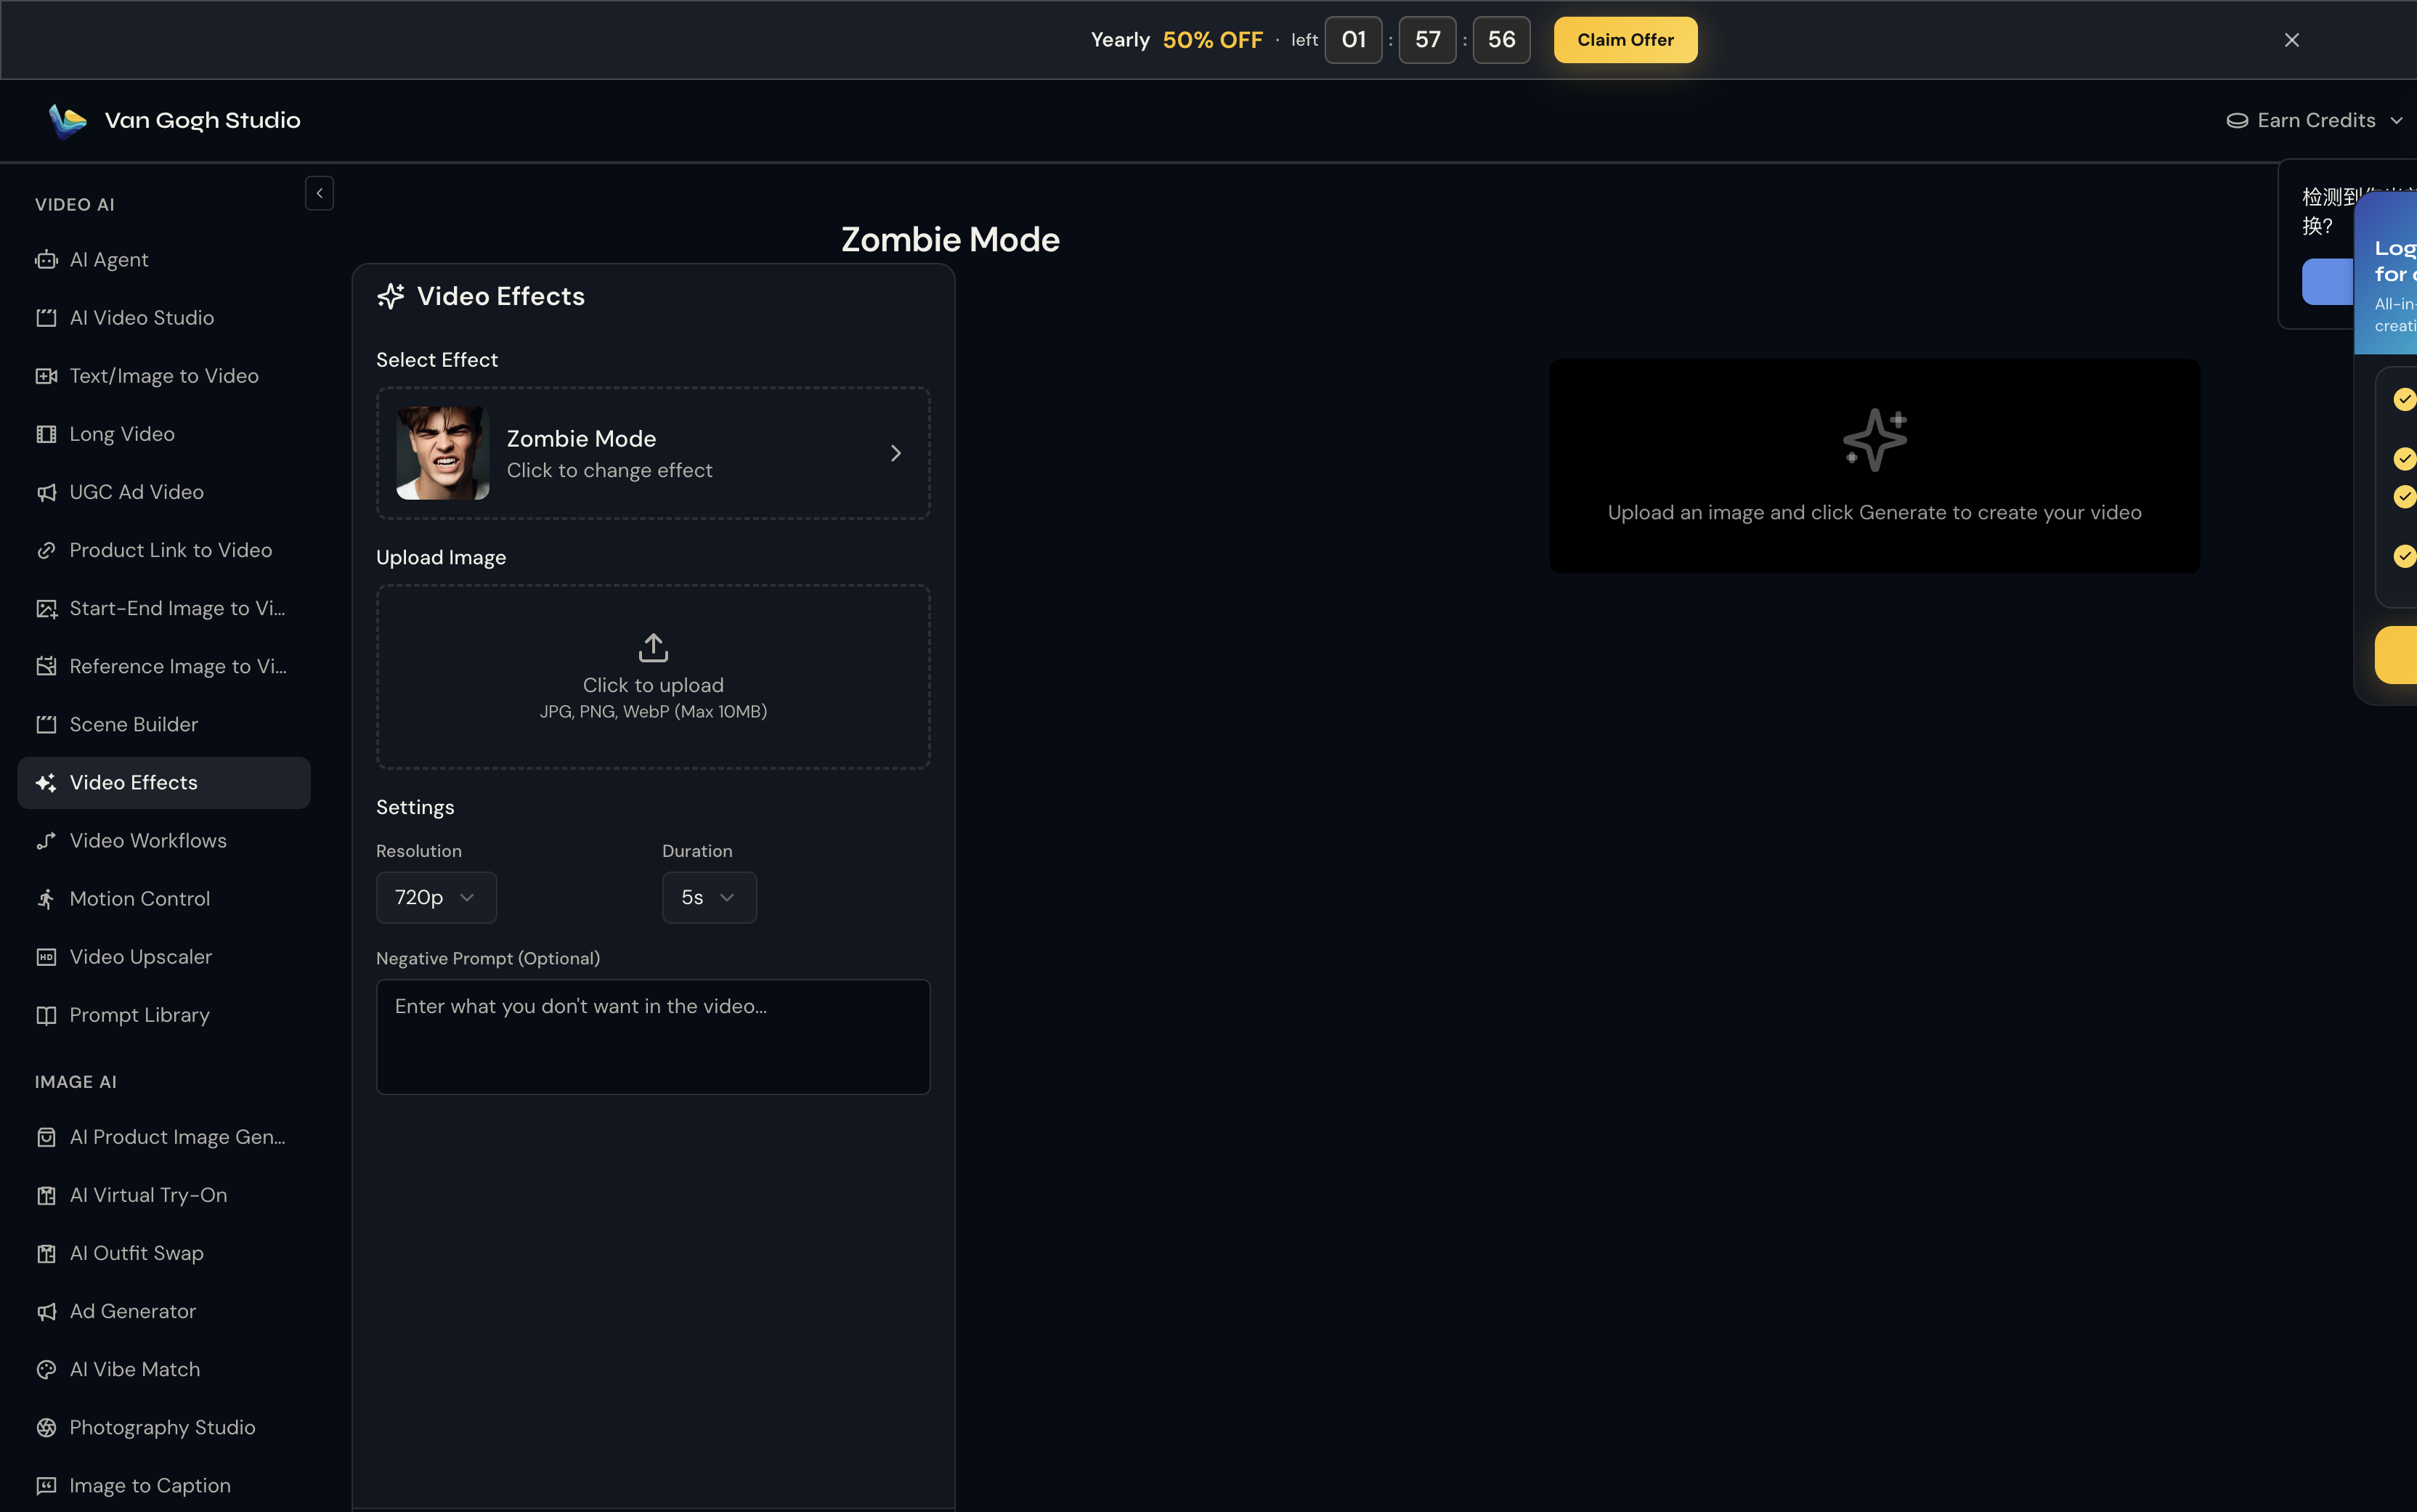
Go to Zombie Mode on Van Gogh Studio. The effect is pre-selected in the left panel — you'll see its thumbnail, name, and a Click to change effect link if you want to browse the full gallery.
Step 2: Upload Your Photo
Click the Upload Image area (or drag and drop). Van Gogh Studio accepts JPG, PNG, and WebP up to 10MB.
Best photo: a front-facing selfie or portrait with the face filling at least one-third of the frame. Neutral or smiling expressions both work — the AI morphs either into a scream. Avoid heavy sunglasses or masks covering the mouth.
Step 3: Set Resolution, Duration & Negative Prompt
Unlike template tools, Zombie Mode does not use a text prompt — the Pixverse effect engine already knows the motion to apply. What you control here is output quality:
- Resolution: 720p is the sweet spot for social sharing (80 credits at 5s).
- Duration: 5s for a punchy clip; 8s if you want the full transformation to breathe.
- Negative Prompt (optional):
cartoon, anime, blurry teeth, extra fingers, cheerful— helps keep the horror look gritty rather than silly.
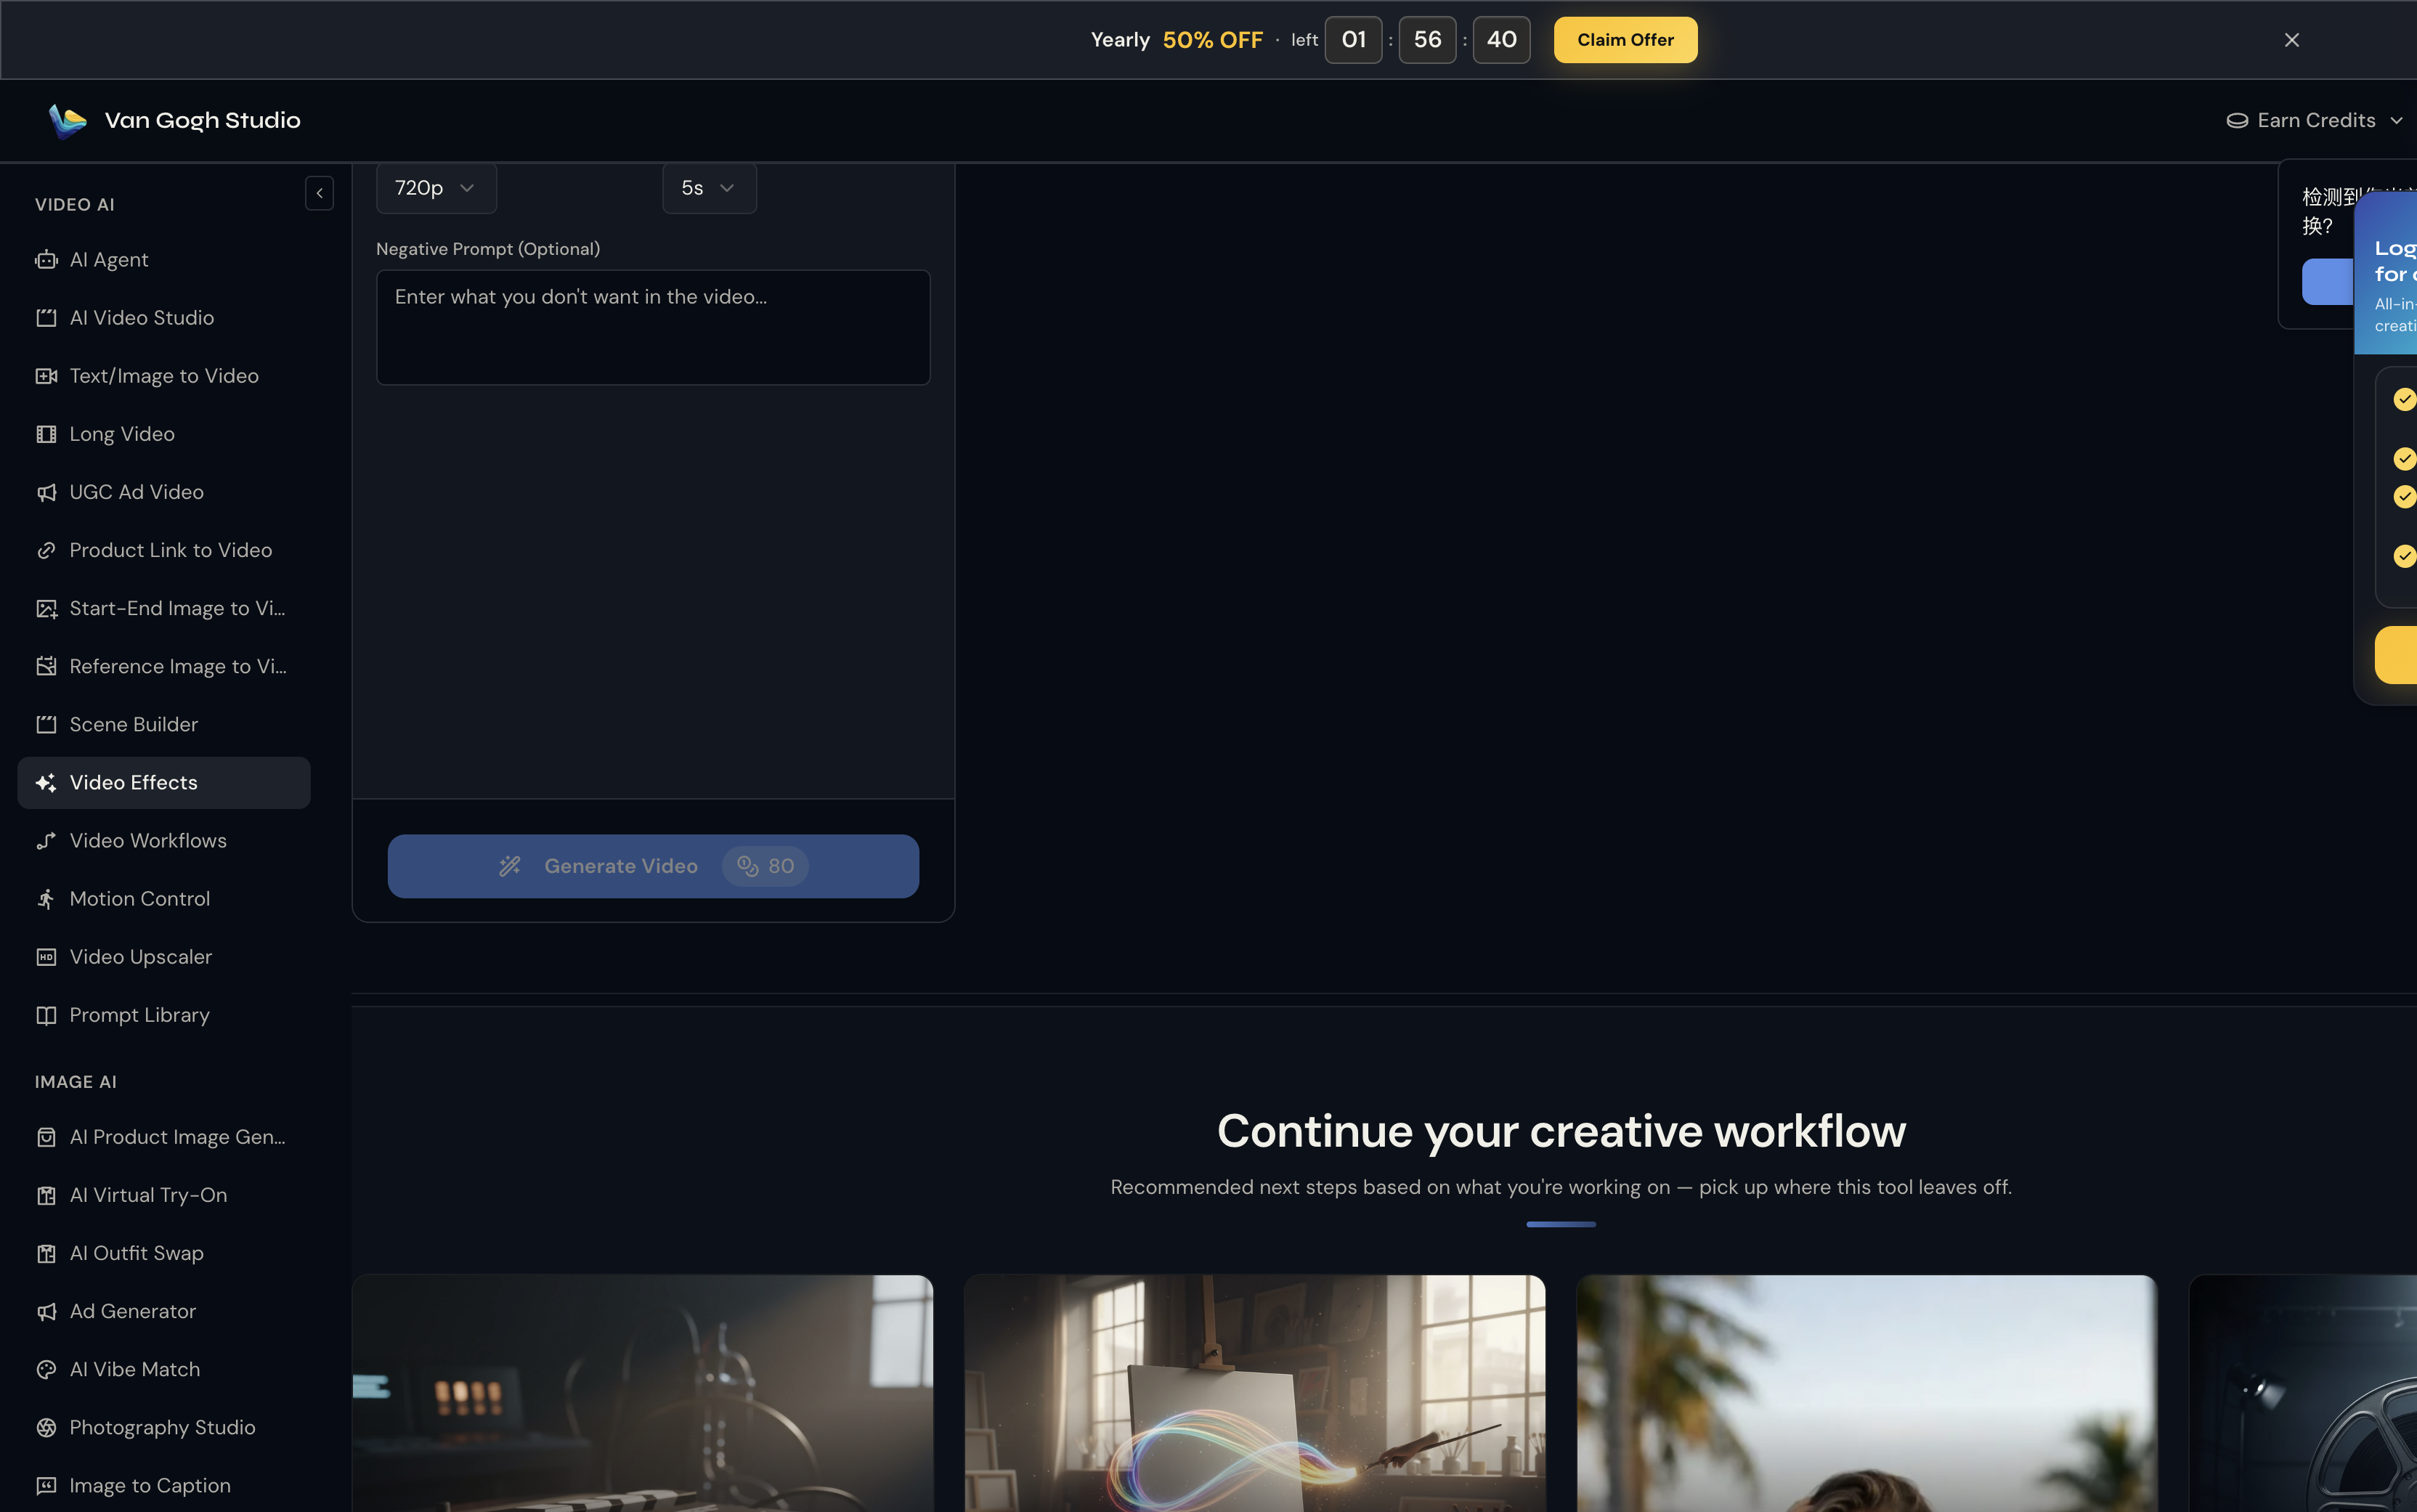
At 720p / 5s the effect costs 80 credits and renders quickly. Bump to 8s if you want the decay animation to unfold more slowly.
Step 4: Click Generate Video & Download
Hit Generate Video (credit cost shown on the button — e.g. 💎 80 at 720p / 5s). Processing usually takes one to three minutes. Preview the result on the right panel; hover and click Download to save the MP4.
Who Should Use Zombie Mode?
- Horror TikTok / Reels creators running transformation or "rate my costume" trends
- Halloween party hosts sending animated invite clips instead of static flyers
- Gamers & streamers who want a spooky profile-loop without editing software
Tips for a Scarier Result
- Shoot in even lighting — harsh shadows on one cheek can confuse the skin-decay mapping
- Leave a little headroom above the hair; the scream animation pushes the jaw open wide
- Try it on old yearbook photos or team selfies for a "who turned first?" group gag
- Pair the exported clip with horror SFX in CapCut or Van Gogh Studio's editor for extra punch
Conclusion
Zombie Mode is one of the most popular horror effects in Van Gogh Studio's Pixverse library because it needs zero editing skills — just a photo and one button. Upload a portrait, generate, and you've got a share-ready scare clip.
Try Zombie Mode free — free credits on signup.
You might also like
How to Create Werewolf Rage Videos
Step-by-step guide for the Werewolf Rage effect on Van Gogh Studio.
How to Create Halloween Cosplay Transformation Videos
Step-by-step guide for the Halloween Cosplay Transformation effect on Van Gogh Studio.
How to Create AI Explode Effect Videos
Step-by-step guide for the AI Explode Effect effect on Van Gogh Studio.
Create AI videos free
Try Van Gogh Studio free — text-to-video, image-to-video, and 300+ models in one place. Free credits on signup, no credit card required.
Try Free Video Generator