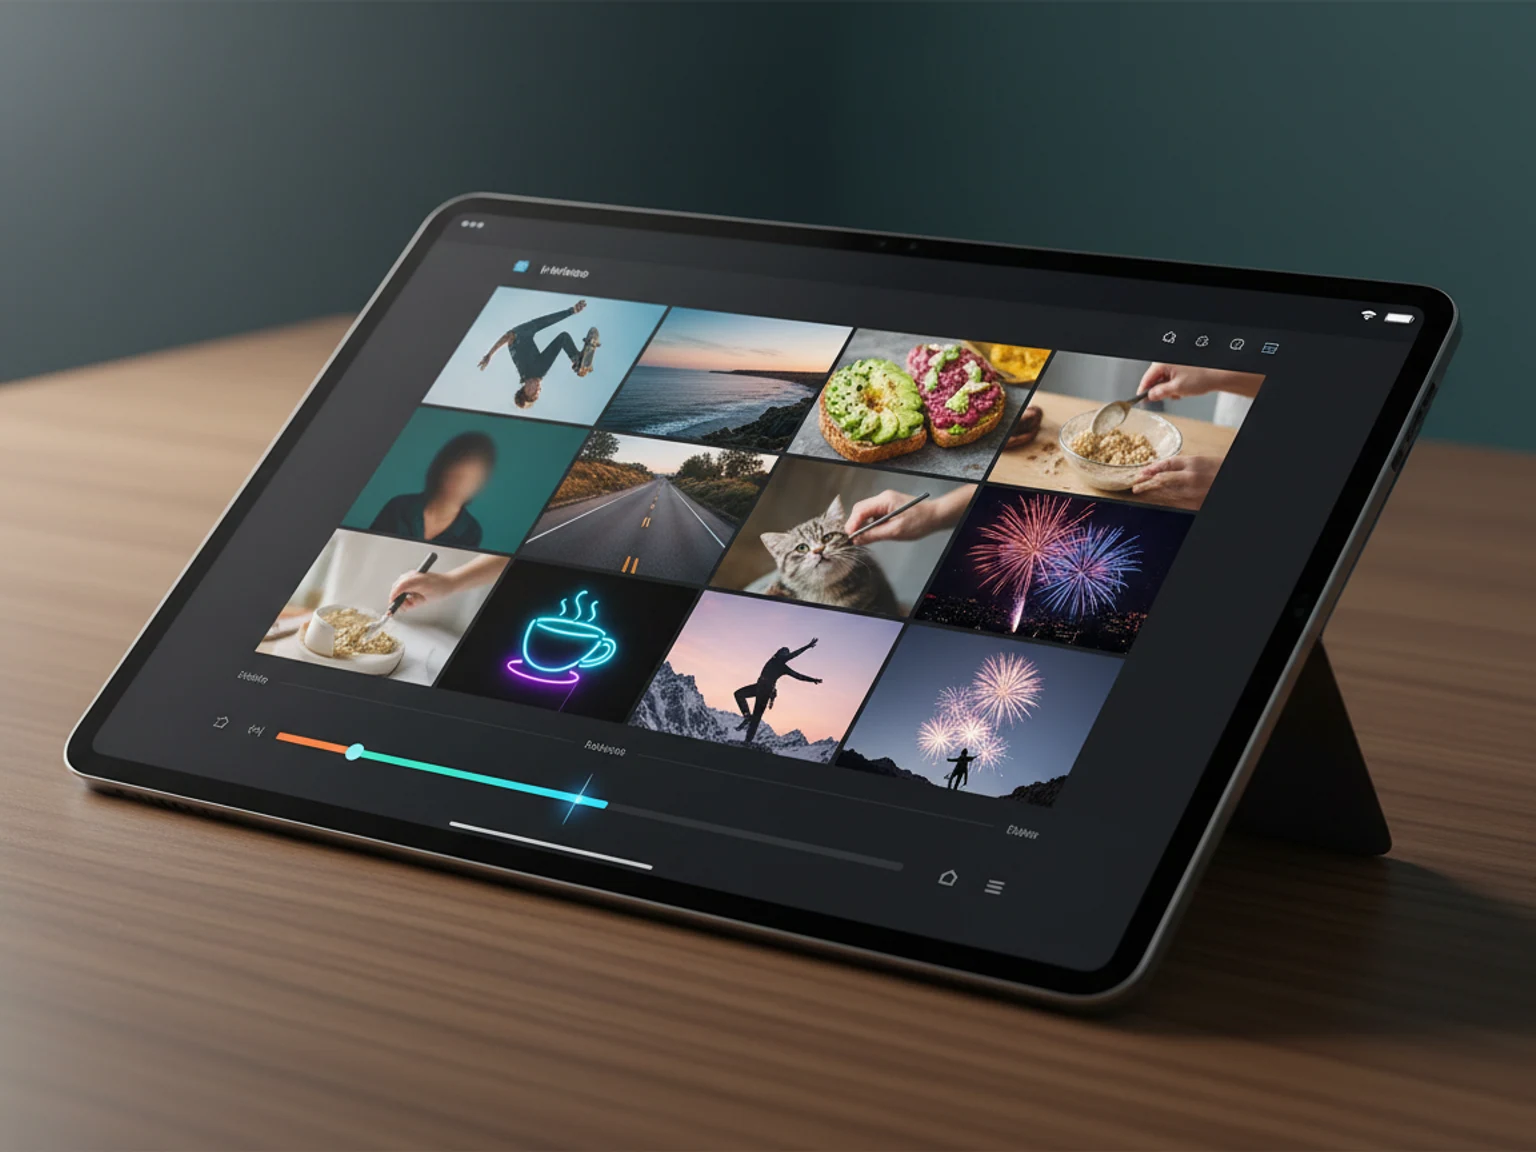
YouTube Shorts are a fast, fun way to grow your channel, but adding AI video effects can go wrong quickly. Overused transitions, inconsistent characters, and jarring motion can make your Shorts feel cheap or confusing. In this guide, you'll learn the seven most common mistakes creators make when using AI video effects for Shorts, and how to avoid them with a practical workflow using the AI Video Studio from Van Gogh Studio (FreeVideoGenerator).
Why AI Video Effects Are Tricky for Shorts
Shorts are only 15–60 seconds long, so every frame matters. AI video effects can add polish, but they can also distract if used carelessly. The key is to use effects that support your story, not overpower it. Many creators jump straight to flashy effects without planning, leading to videos that feel chaotic or unprofessional.
Common Mistake #1: Overloading with Too Many Effects
When you have access to 100+ effects, it's tempting to use them all. But stacking multiple effects in a single Short can overwhelm viewers. Each effect should have a purpose—whether it's to emphasize a point, transition between scenes, or add a stylistic touch. A good rule: use one primary effect per scene, and keep it subtle.
AI-generated videos can have unpredictable motion. If your character's movements jump between frames, it breaks the illusion. Always review the motion in your generated clips. If something looks off, regenerate with a different seed or adjust the motion control settings. Consistency is crucial for a professional look.
Common Mistake #3: Using Effects That Don't Match the Mood
A horror-themed Short with bright, bouncy effects feels wrong. Match your effects to the tone of your content. For example, use slow, smooth transitions for emotional stories, and quick, sharp cuts for energetic content. The AI Video Studio lets you preview effects before applying, so take the time to find the right fit.
Common Mistake #4: Forgetting the Vertical Format
Shorts are vertical (9:16). If you generate a video in landscape and then crop it, you lose important details. Always set your project to vertical format from the start. The AI Video Studio supports various aspect ratios, so choose the one that fits your Shorts.
Common Mistake #5: Not Planning Your Shots
AI video effects work best when you have a clear plan. Before generating, write a simple shot list: what happens in each scene, what effect you'll use, and how you'll transition. This saves time and prevents random, disconnected clips.
Common Mistake #6: Ignoring Audio and Effects Sync
Effects that don't sync with the beat or sound effects feel off. If your Short has music, time your transitions to the beat. Some AI tools allow you to input audio cues, but if not, you can edit in post. The AI Video Studio doesn't handle audio editing, so plan to sync in your editor.
Common Mistake #7: Skipping the Review Process
AI generation is not perfect. Always review your generated clips for glitches, weird artifacts, or unwanted elements. The AI Video Studio allows you to regenerate with different parameters, so don't settle for a flawed clip. A quick review can save your video from looking amateur.
Step-by-Step Workflow to Avoid These Mistakes
Now let's walk through a practical workflow using the AI Video Studio to create a polished Short.
Step 1: Define Your Concept and Shot List
Write down your Short's main idea and break it into 3–5 key shots. For each shot, note the action, the desired effect, and the transition. This plan will guide your generation and keep you focused.
Step 2: Set Up Your Project in AI Video Studio
Go to the AI Video Studio and start a new project. Choose the vertical aspect ratio (9:16) to match Shorts. Select the model you want to use—availability varies, so check the live model selector for current options.
Step 3: Generate Your Base Clips
For each shot, write a clear prompt that describes the action and style. Use the text-to-video feature to generate your base clips. Keep prompts specific: include subject, action, setting, and mood. For example, "a person walking through a neon-lit street, cinematic lighting, slow motion."
Step 4: Apply Effects Sparingly
Once you have your clips, apply effects. Choose one effect per scene that enhances the mood. For instance, a subtle glow for a dreamy scene, or a glitch effect for a tech vibe. Preview the effect and adjust intensity if possible.
Step 5: Check Motion and Consistency
Play each clip and watch for motion jumps. If a clip looks unnatural, regenerate it with a different seed or tweak the prompt. Consistency across clips is key—keep the same character style and lighting.
Step 6: Assemble and Sync in Your Editor
Export your clips and import them into your video editor. Arrange them according to your shot list, add transitions, and sync with music. Keep transitions simple—cuts or fades work best for Shorts.
Step 7: Review and Export
Watch the full Short. Check for any glitches, audio sync issues, or effects that feel off. Make adjustments, then export in the correct resolution for YouTube Shorts.
Reusable Prompts and Parameter Tips
Here are some prompt templates you can adapt:
For a product showcase: "[Product] on a rotating pedestal, studio lighting, clean background, 4K, smooth motion."
For a travel vlog: "Aerial view of [destination], golden hour, cinematic color grading, smooth drone movement."
For a tutorial: "Close-up of hands typing on a laptop, shallow depth of field, bright and clean lighting."
Parameter tips:
Use lower resolution for faster generation, but remember that Shorts look best in 1080x1920.
Experiment with different models to see which one matches your style.
Use motion control to add subtle camera movements like pan or zoom.
Common Pitfalls to Avoid
Not using the free credits: New accounts get 21 signup credits, so you can test the workflow without paying.
Ignoring the pricing page: Plans and credit costs change, so always check the live pricing page for current details.
Assuming unlimited generation: Unlimited windows are only available on certain plans and models, so read the terms.
Skipping the review: Always watch your clips before publishing.
Related Tools to Enhance Your Shorts
If you want to create even more engaging Shorts, check out these tools:
AI Text/Image to Video: Generate videos from text or images for more creative control.
Link to Video: Turn a product URL into a video ad—perfect for promotional Shorts.
Pricing: Compare plans to find the best fit for your content needs.
Final CTA: Try AI Video Studio for Free
Ready to create stunning YouTube Shorts without the common mistakes? Start with the AI Video Studio at Van Gogh Studio. You'll get 21 free credits to experiment with effects, motion control, and more. No credit card required. Click below to begin your first project.