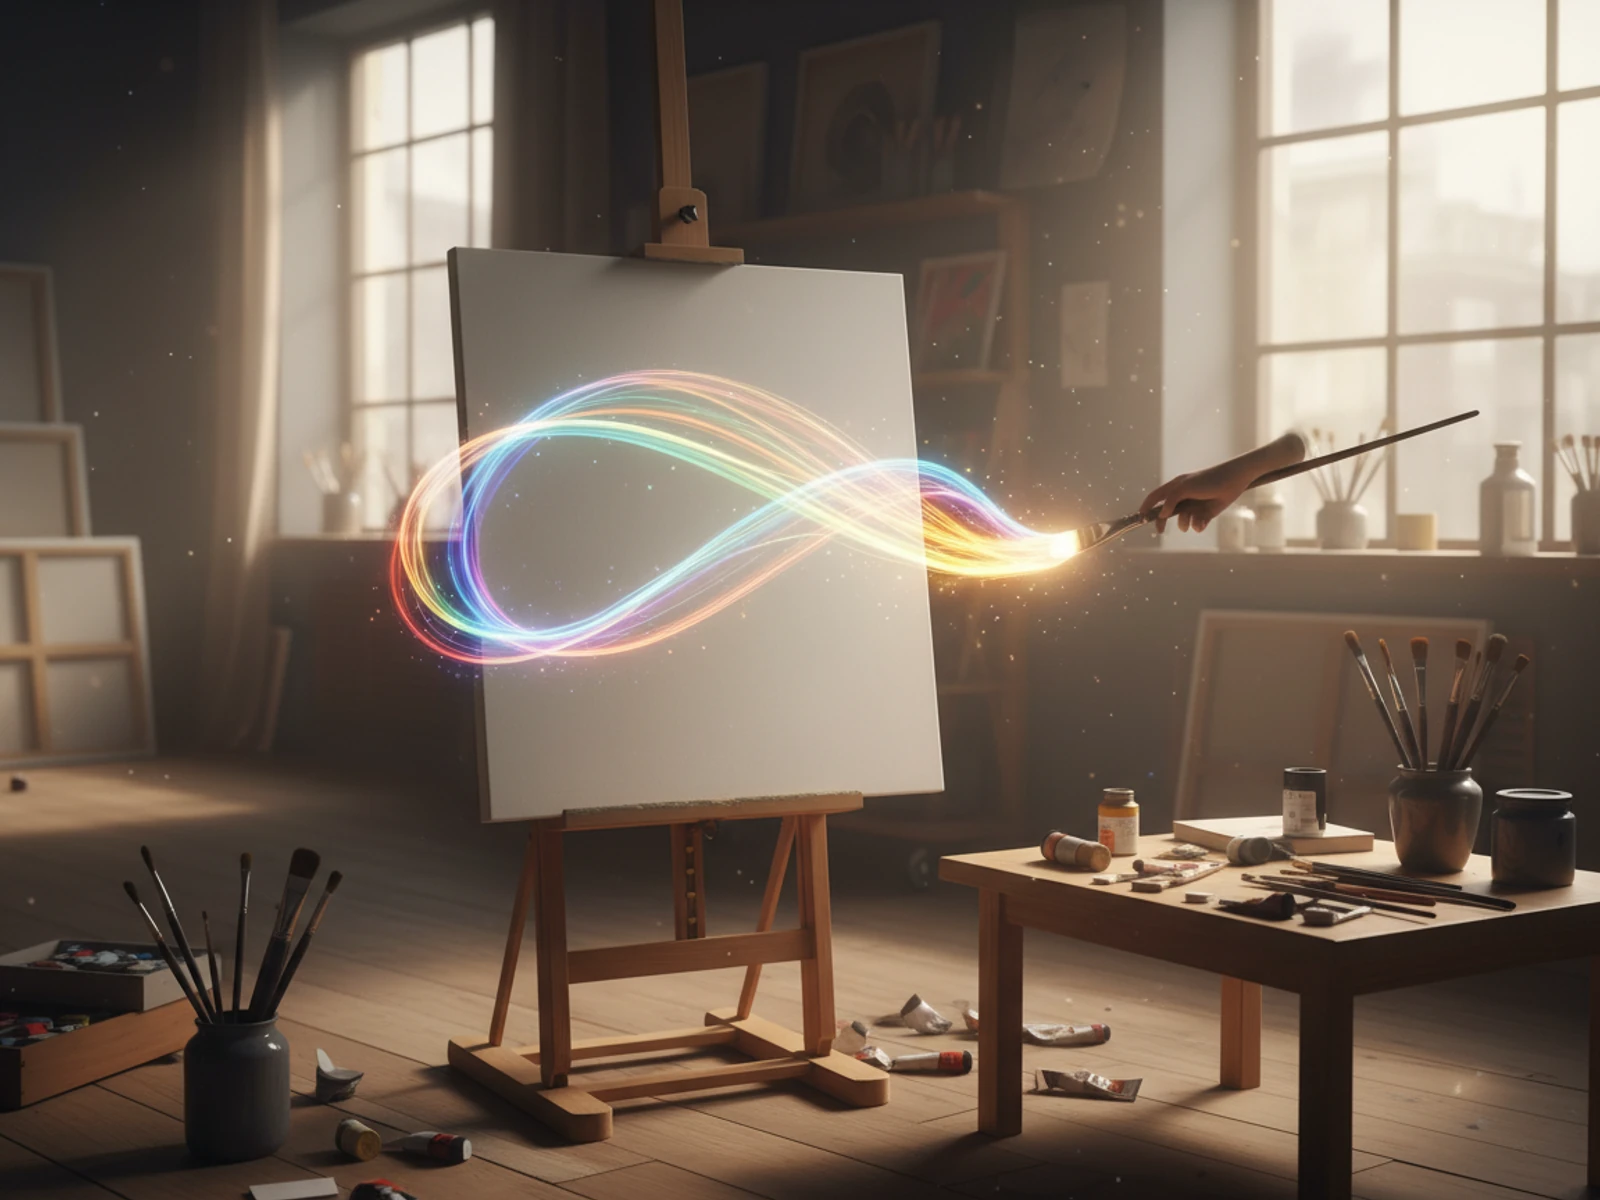
Ever looked at a photo and wished it had been shot from the side, above, or behind the subject? Reshoots are expensive—and often impossible once the moment is gone.
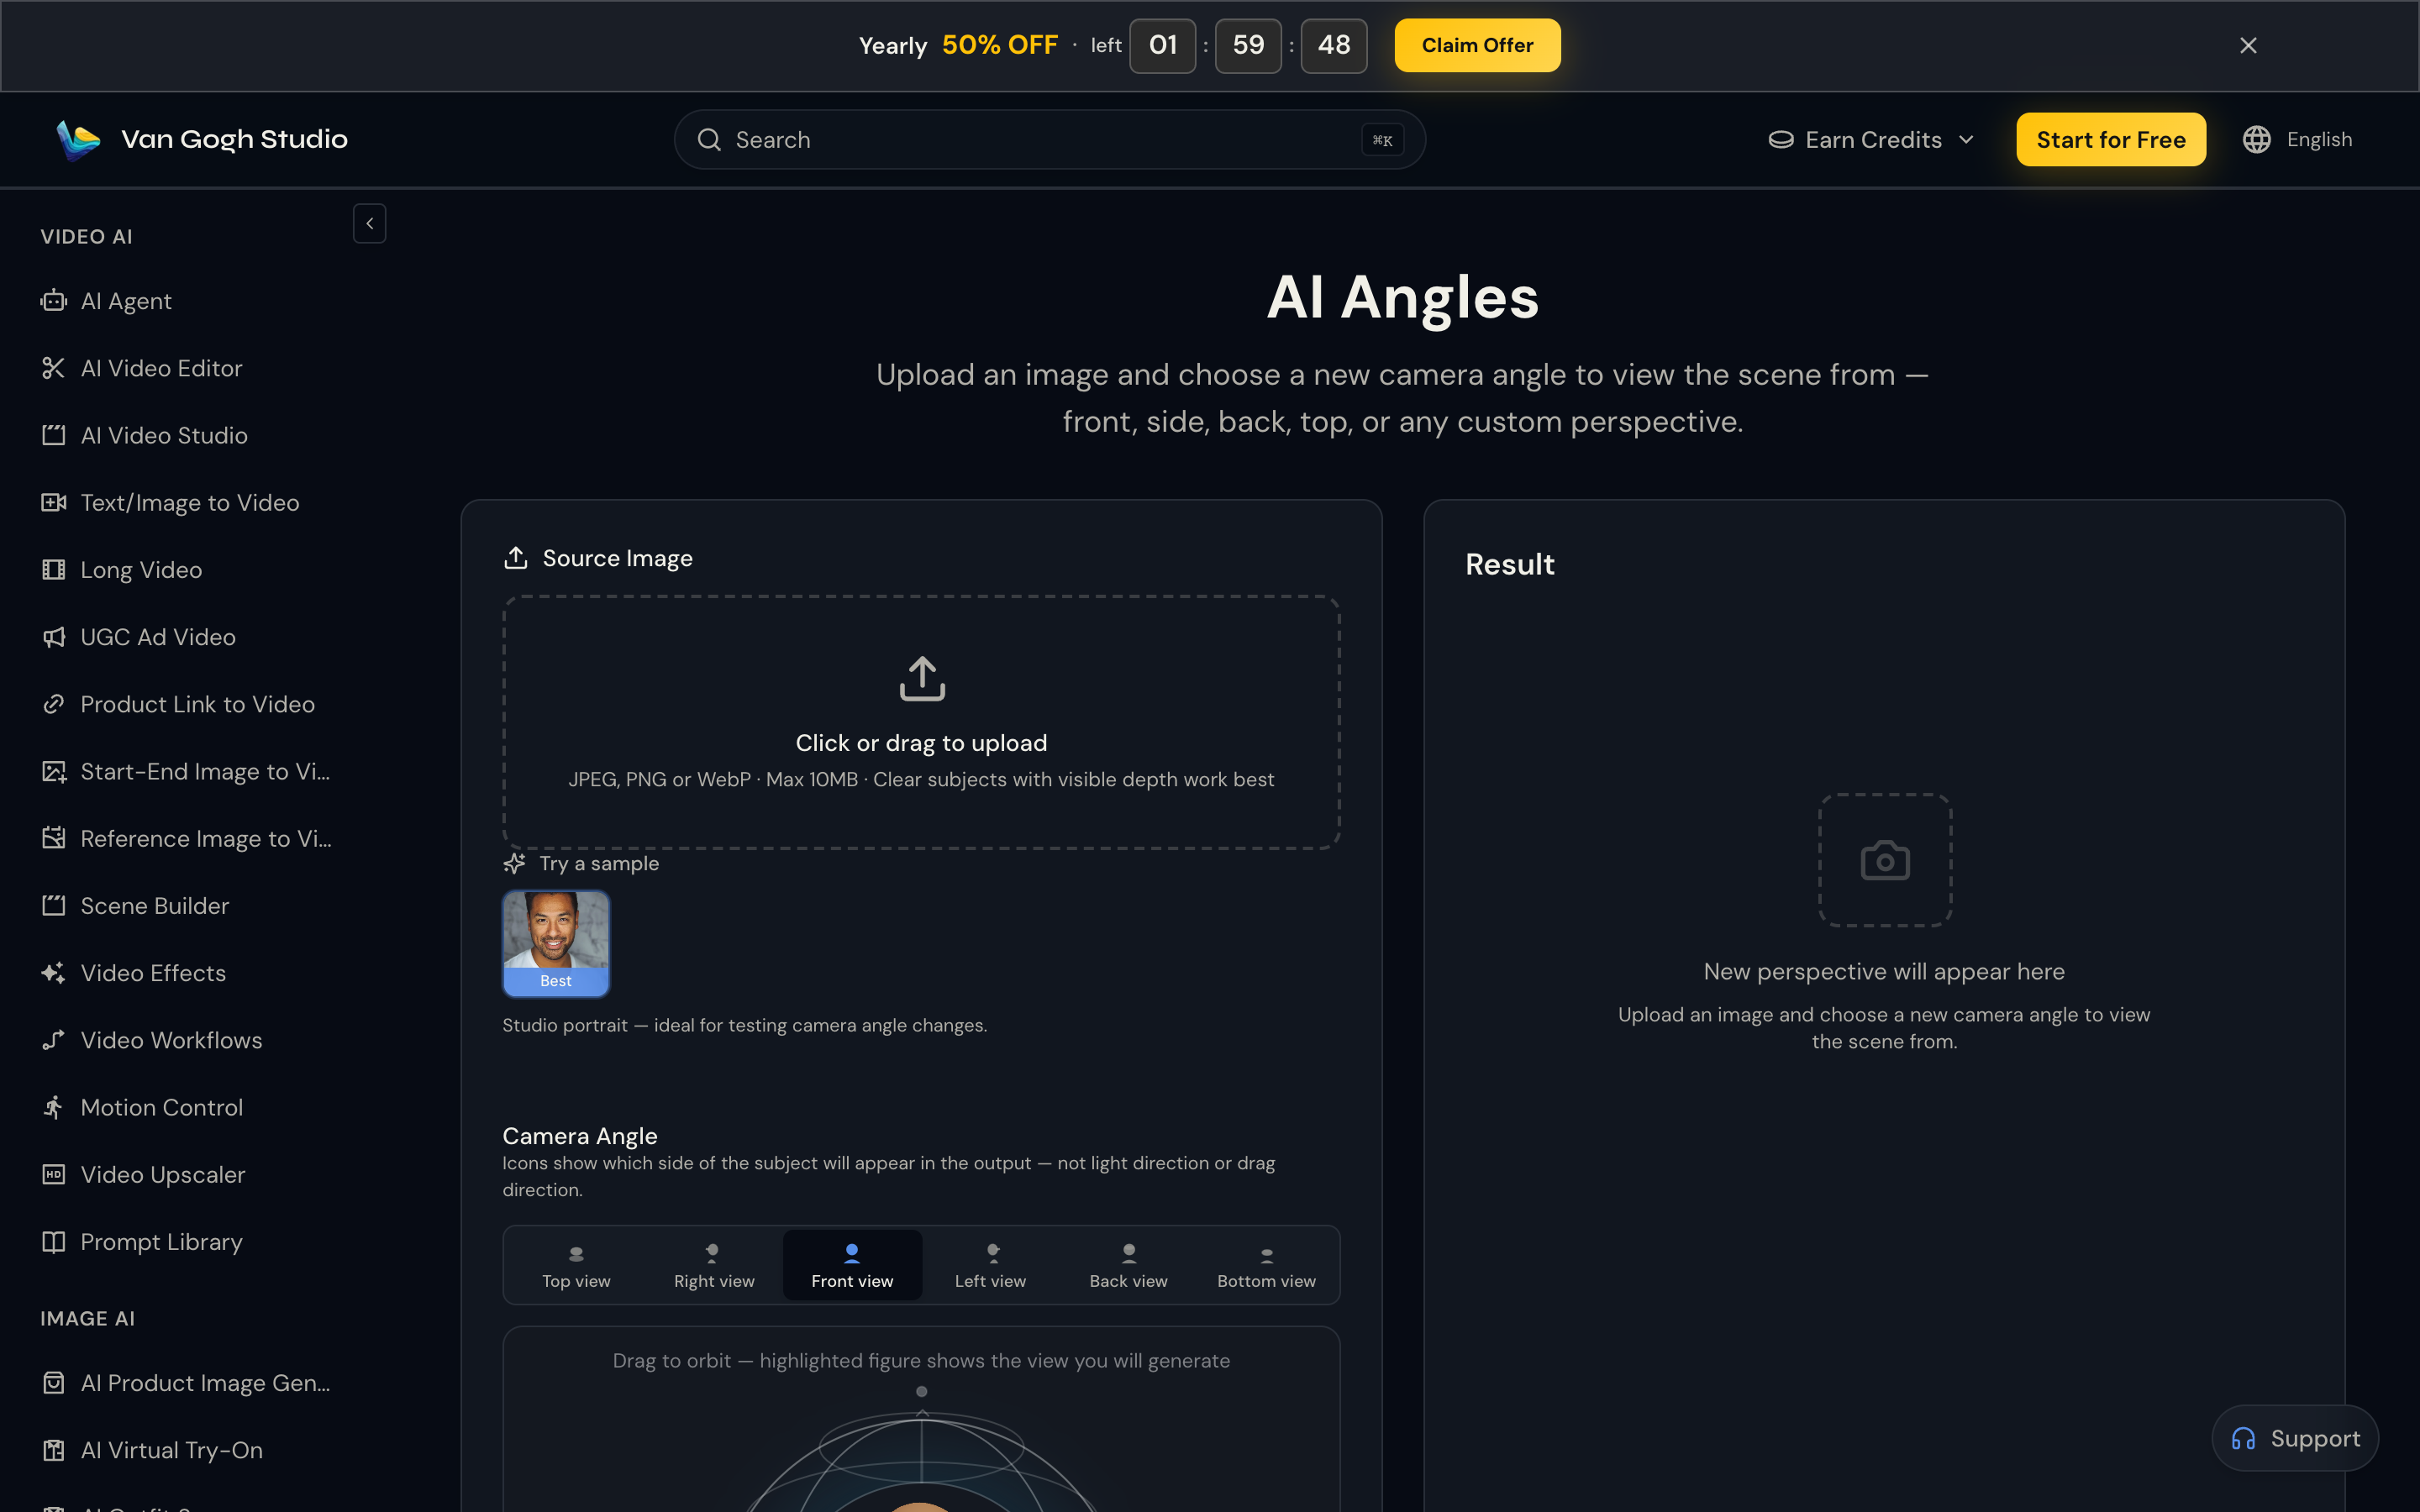
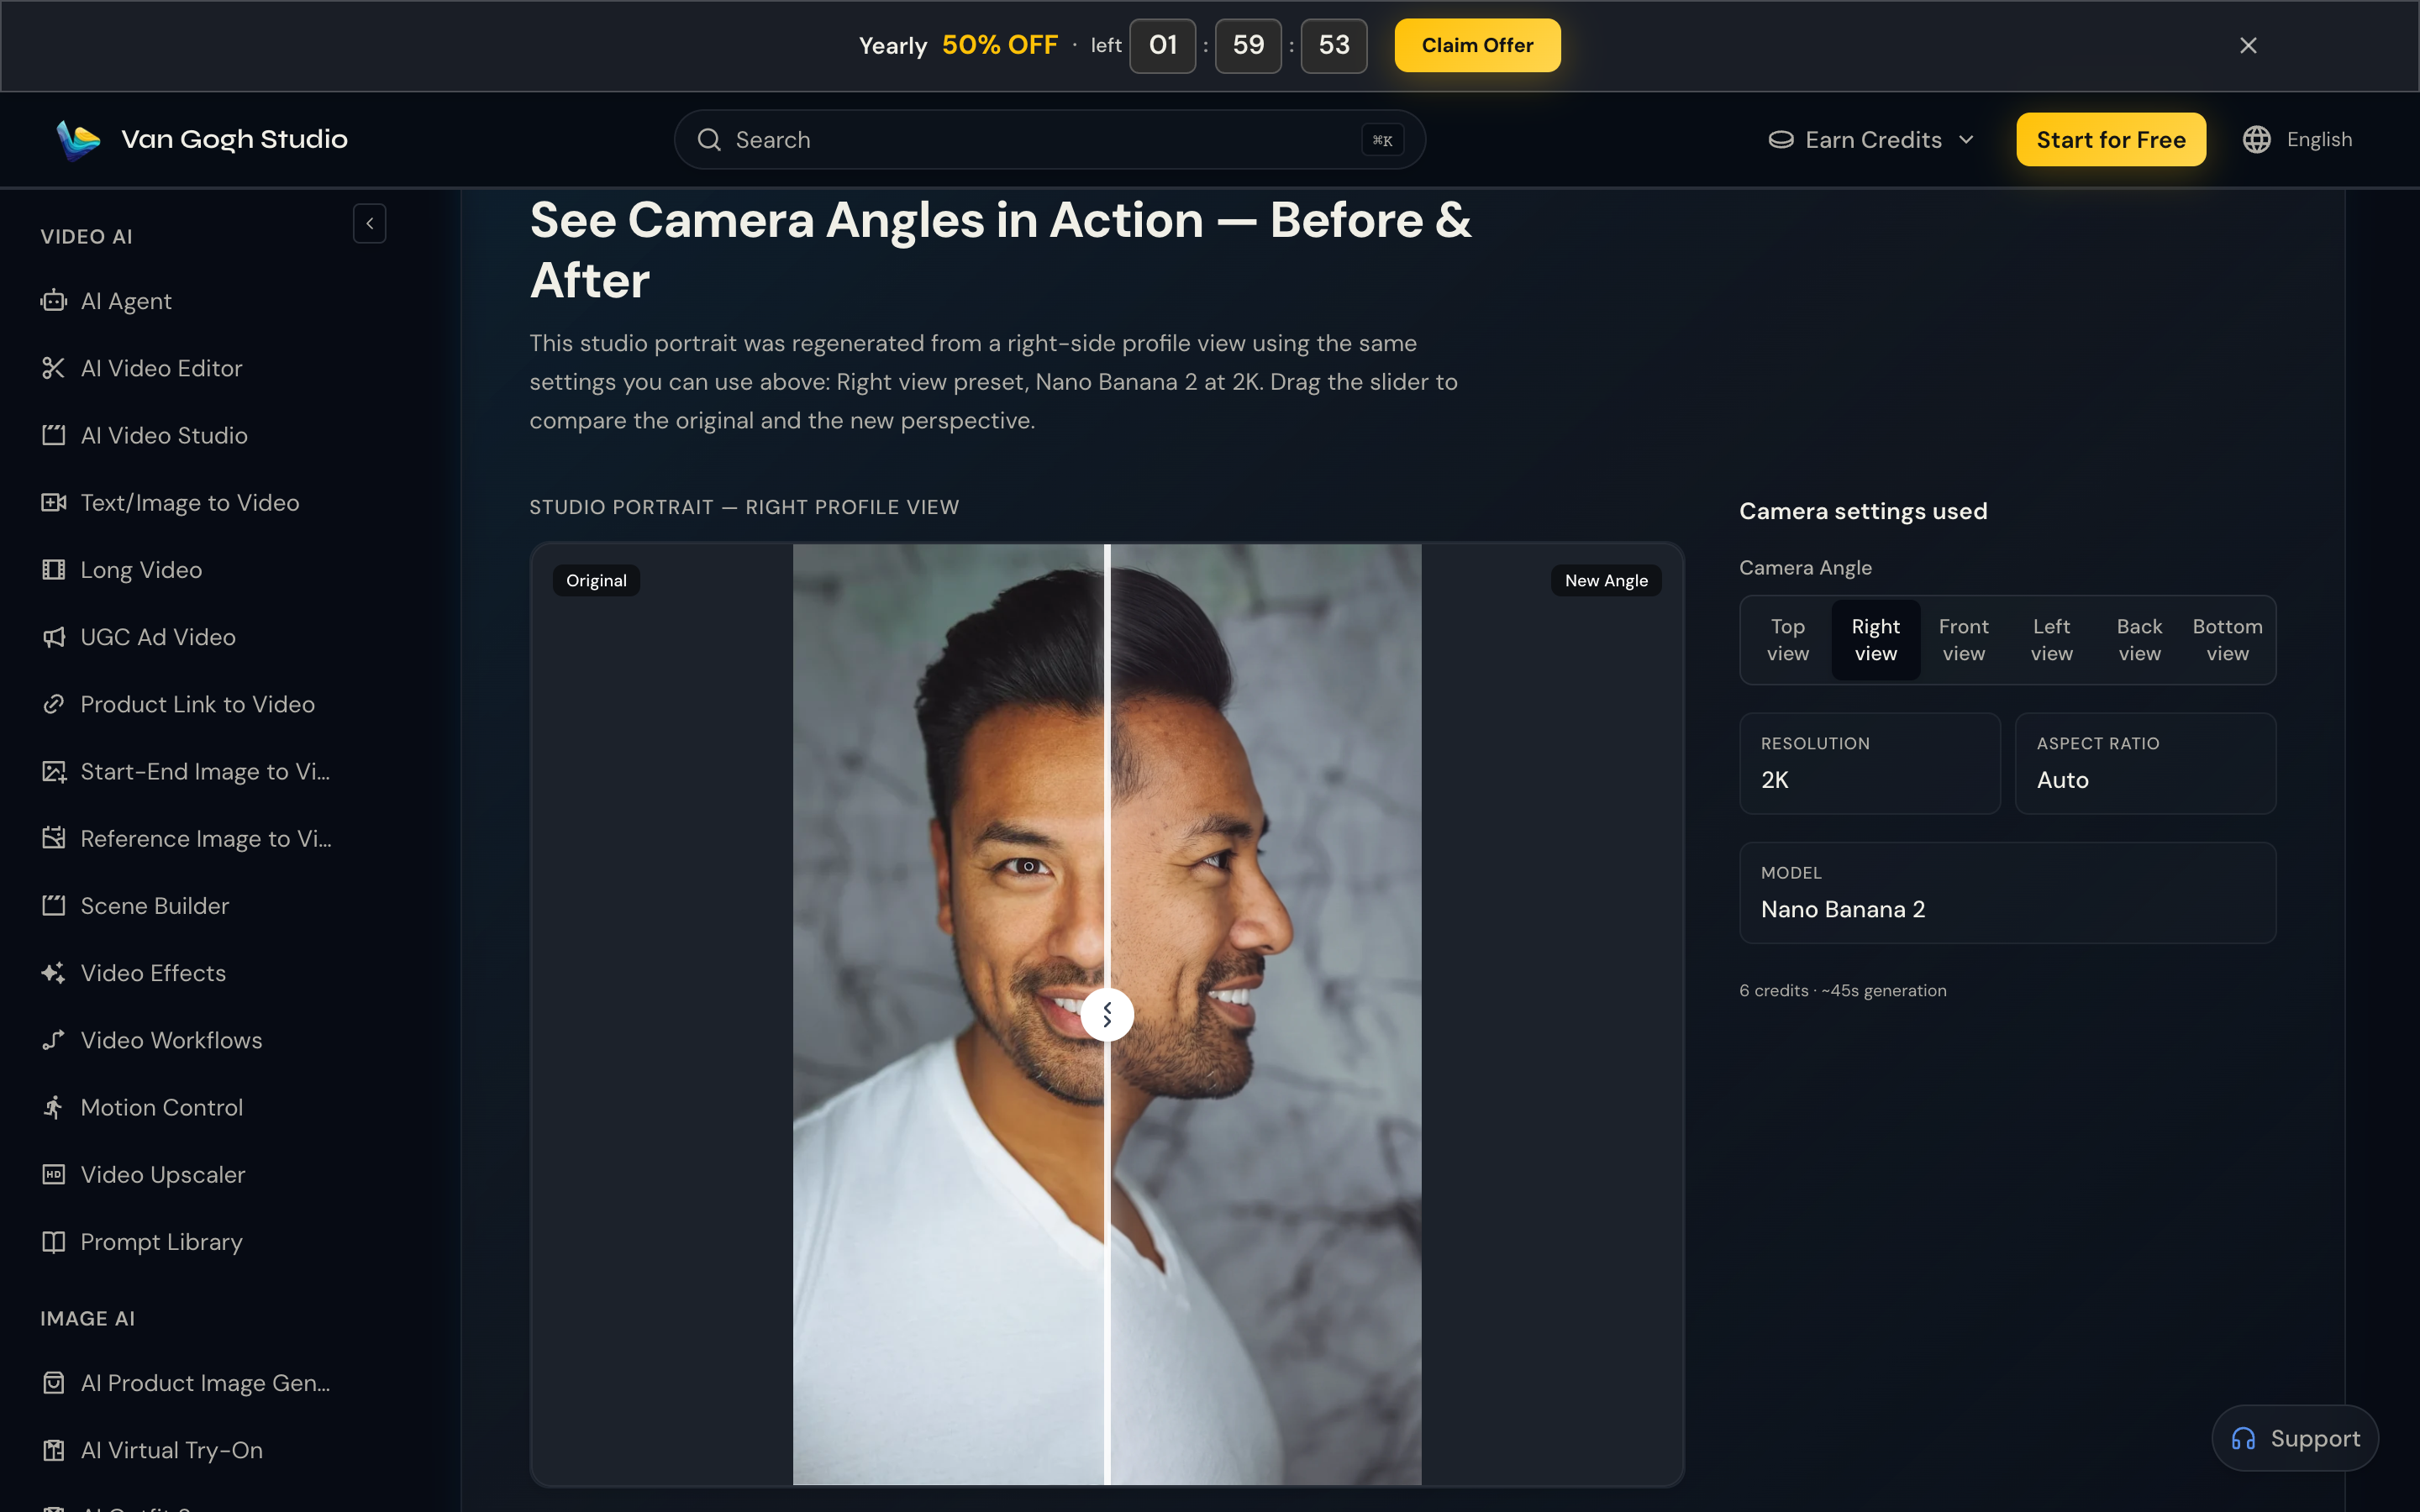
Van Gogh Studio Angles regenerates a new camera perspective from a single still. Pick a preset (front, side, back, top, bottom) or drag to orbit, then generate. No 3D software, no studio setup.
Quick Verdict
Open AI Angles, upload a JPEG/PNG/WebP (max 10MB) or try the sample portrait, choose a camera preset or drag the orbit pad, pick Nano Banana 2 (recommended) at 1K/2K/4K, then click Change Angle. Compare before/after and download.
What Does Van Gogh Studio Angles Do?
AI Angles is generative view synthesis—not a simple 2D warp. The model reads depth, lighting, and geometry in your photo, then re-renders the scene from a new virtual camera position while keeping identity, outfit, and props consistent.
Typical uses:
- E-commerce — multi-angle product shots from one photo
- Social & portraits — fresh perspectives without a reshoot
- Character turnarounds — front / side / back views for design or animation
- Creative photography — explore composition before committing to a final crop
How to Use AI Angles (Step by Step)
Step 1: Open AI Angles
Go to AI Angles (sidebar IMAGE AI → AI Angles).
Step 2: Upload Your Image (or Try a Sample)
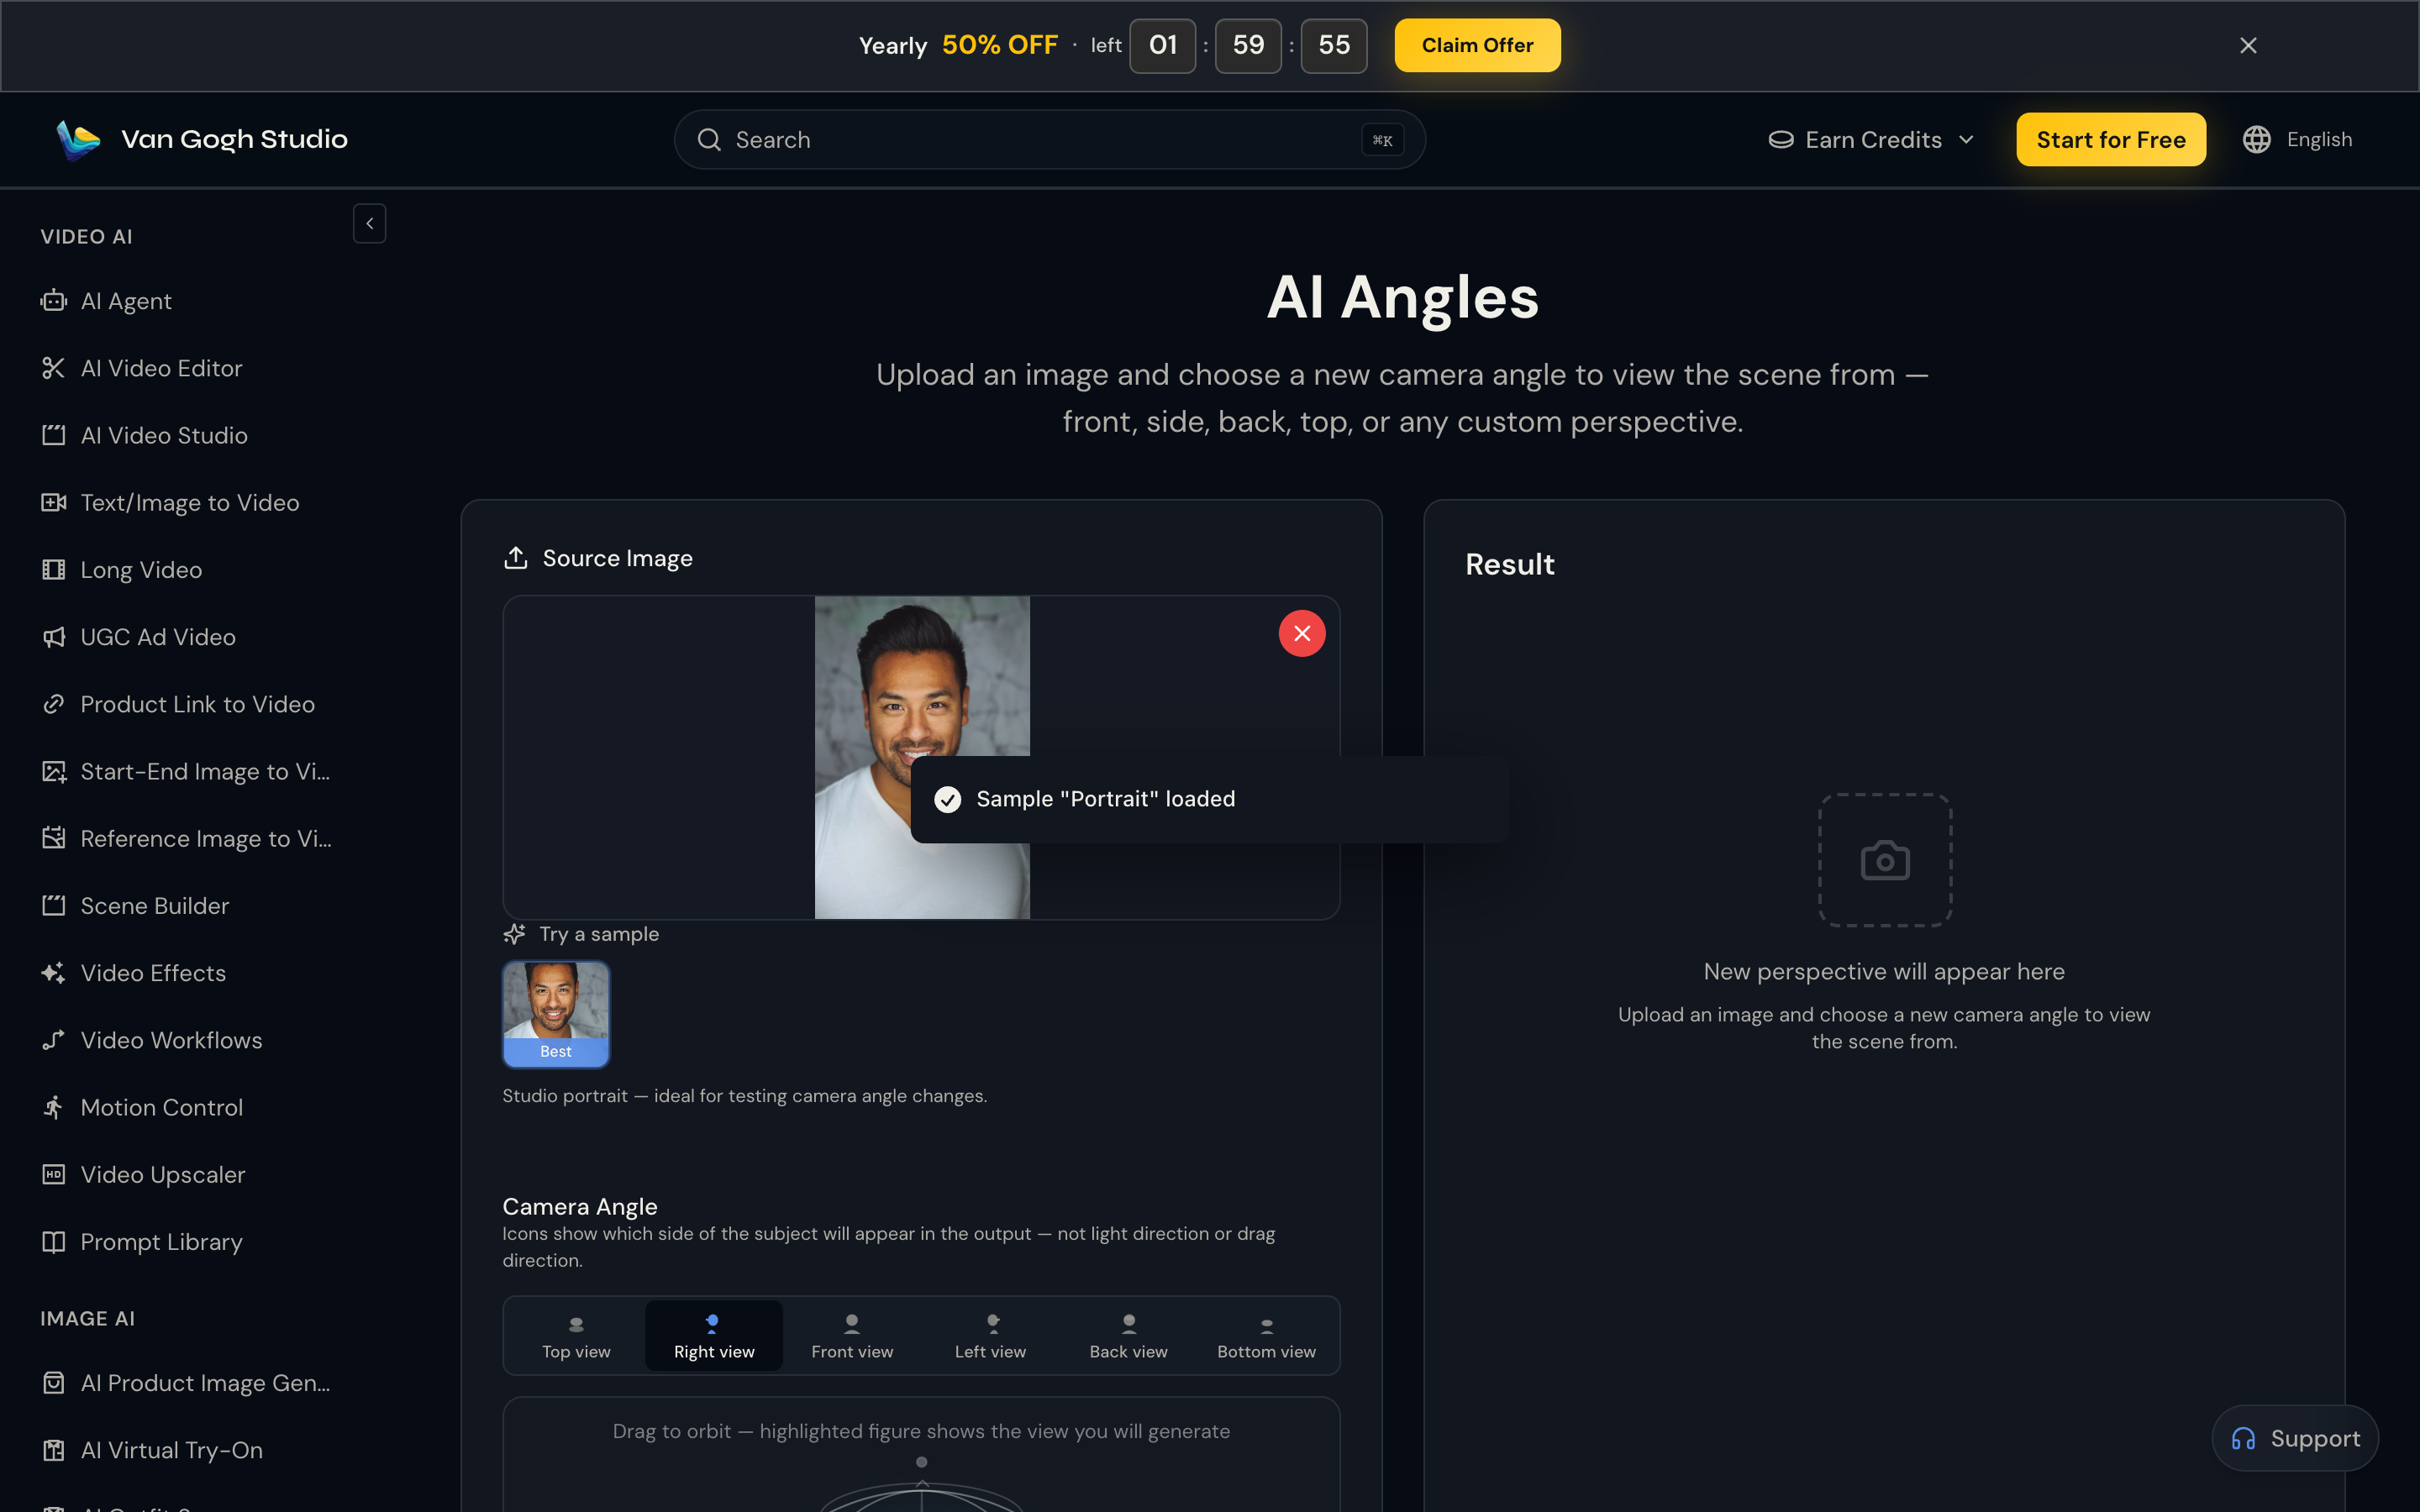
Drop a JPEG, PNG, or WebP (max 10MB), or click the Best sample portrait. Clear subjects with visible depth work best—blurry or heavily cropped shots are harder to re-angle.
Step 3: Pick a Camera Preset or Drag to Orbit
Use one-click presets:
- Top / Bottom view — elevation ±90°
- Front / Back view — azimuth 0° / 180°
- Left / Right view — azimuth −90° / 90°
Icons show which side of the subject will appear in the output—not light direction. For custom angles, drag the orbit pad; the readout shows Azimuth and Elevation in degrees.
Step 4: Choose Model & Quality
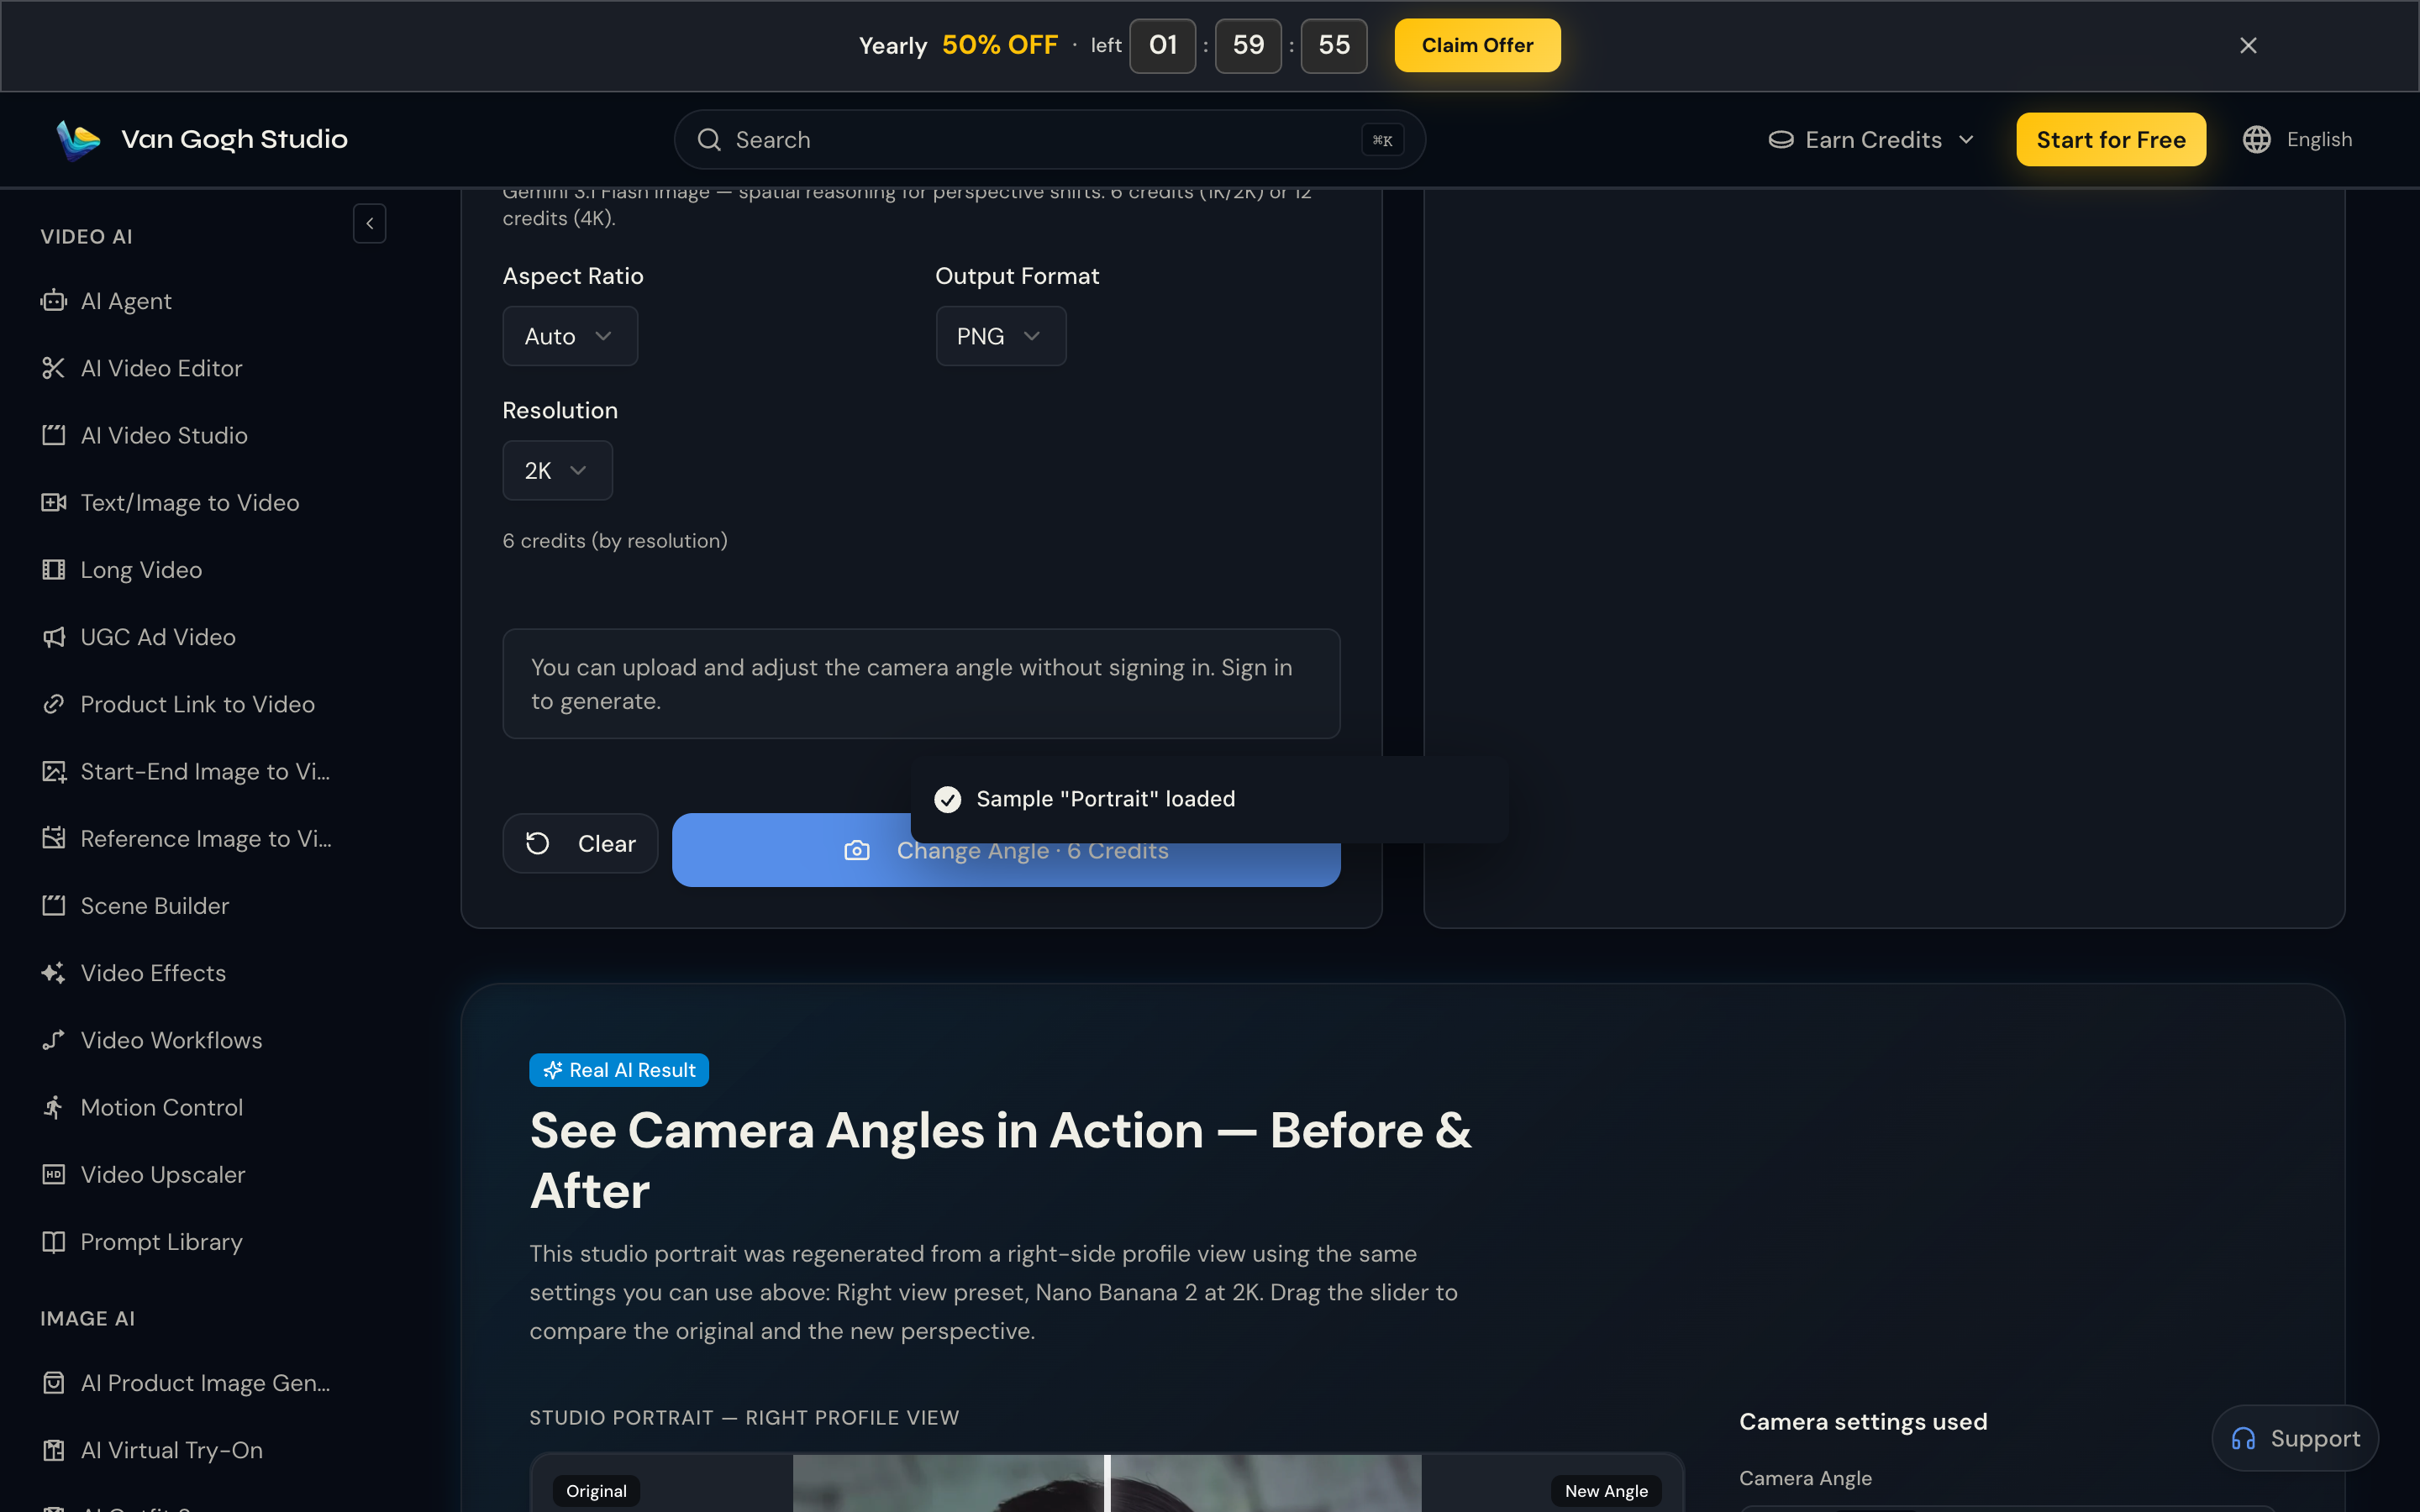
- Nano Banana 2 (default) — Gemini 3.1 Flash Image with strong spatial reasoning; 6 credits for 1K/2K, 12 credits for 4K
- Qwen Image Edit — flexible aspect ratios, batch variants, and acceleration options
Set aspect ratio (Auto is fine), output format (e.g. PNG), and resolution.
Step 5: Generate, Compare, Download
Sign in, then click Change Angle. When the result appears, use the before/after slider to verify identity and parallax, then Download.
Tip: large jumps (front → back) can vary more—try intermediate angles for cleaner results.
Try AI Angles free
Key Features
| Feature | What you get |
|---|---|
| Six one-click presets | Top, front, left, right, back, bottom |
| Drag-to-orbit control | Fine-tune azimuth & elevation like a 3D camera |
| Spatial AI (Nano Banana 2) | Perspective shifts that preserve subject consistency |
| Before/after compare | Interactive slider on every result |
| Product & portrait ready | E-commerce multi-angles and character turnarounds |
Related Tools on Van Gogh Studio
- AI Relight — reposition lighting after you lock the angle
- AI Face Refine — clean up facial detail on portraits
- AI Image Editor — prompt-based edits on the new frame
- AI Image Generator — create a source still from scratch
- Text/Image to Video — animate the new angle into a clip
Conclusion
You no longer need a reshoot or complex 3D tools to get another camera view. Upload one photo to Van Gogh Studio Angles, pick a preset or custom orbit, generate with Nano Banana 2, and download a new perspective in minutes.
Start free on Van Gogh Studio and look at your next shot from a whole new angle.
Create AI videos free
Try Van Gogh Studio free — text-to-video, image-to-video, and 300+ models in one place. Free credits on signup, no credit card required.
Try Free Video Generator