Runway makes it easy to push a clip toward sharper, clearer output—but only for videos created inside Runway, and only on paid plans for serious resolution. This guide walks through upscaling in Runway, then shows how Van Gogh Studio’s AI Video Upscaler handles almost any upload with model-based enhancement up to 4×.
How to Upscale Video in Runway
You do not need an editing background. Follow these steps inside Runway’s own product.
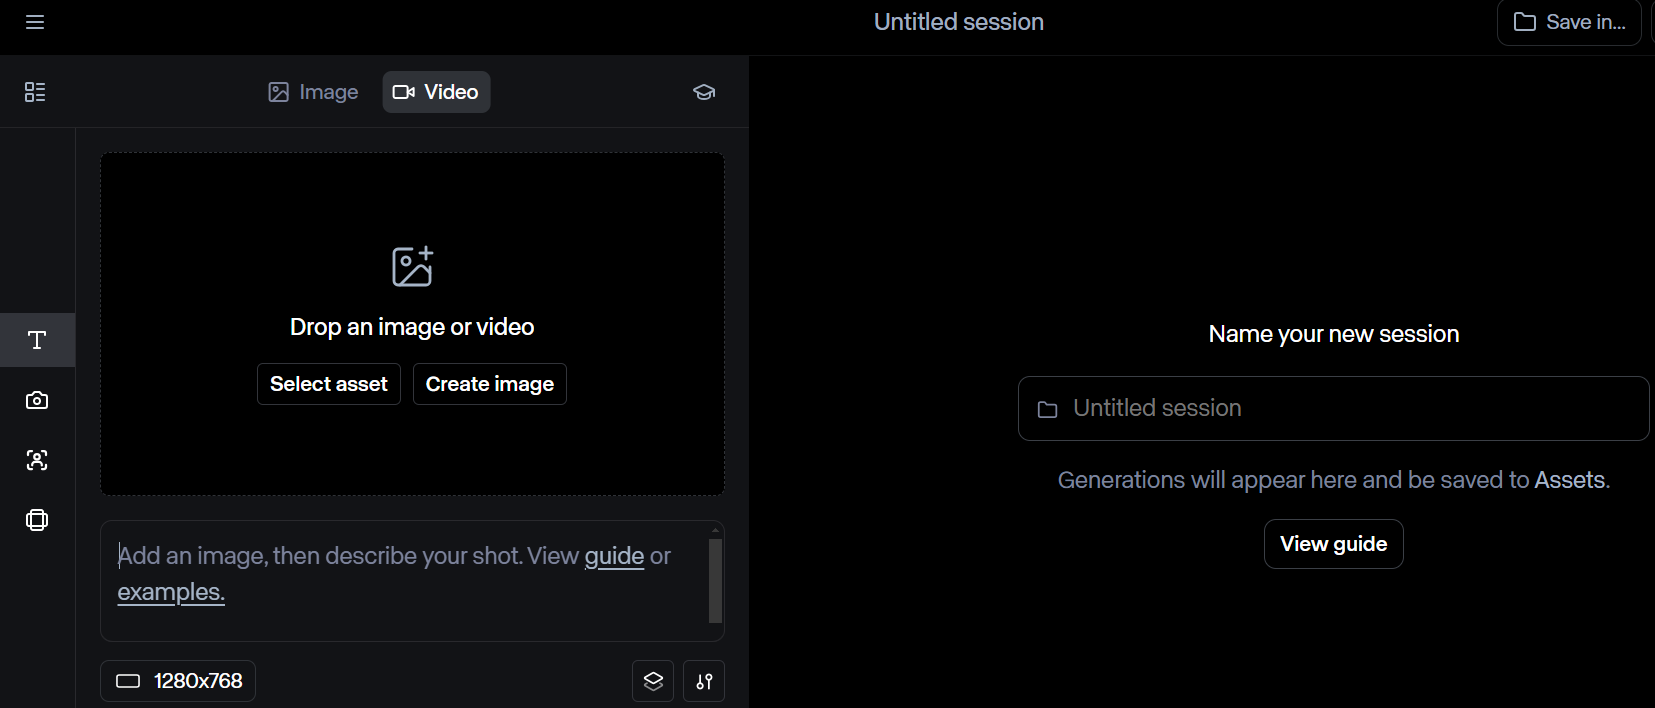
Step 1: Select an Asset or Generate a Video
Open Runway. Upscaling only works on videos created in Runway—pick an existing generation or create a new one first. Outside clips cannot be upscaled there.
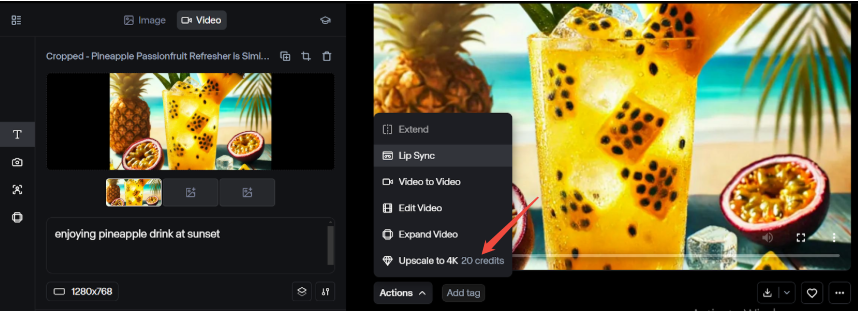
Step 2: Open the Actions Menu
When the clip is ready, open Actions and choose the upscale option (for example upscale toward 4K).
Step 3: Choose Resolution and Start
Pick the target resolution. Runway adds detail, sharpens edges, and improves textures; time depends on length. Preview when done, then download if you are satisfied.
Limitations of Runway’s Upscaling
Upscales Runway-Generated Videos Only
If the file came from another tool, phone, or editor, Runway will not upscale it. That alone blocks most real-world cleanup jobs.
Paid Plans for Useful Output
Serious upscaling sits behind paid tiers. Free users often stay stuck at lower export resolutions (see community reports such as 720p export limits).
Limited Enhancement Control
Resolution goes up, but you rarely get dedicated denoise, animation-tuned, or AI-clip profiles. Soft, noisy, or generative footage may still look soft after a simple stretch.
Introducing Van Gogh Studio’s Video Upscaler
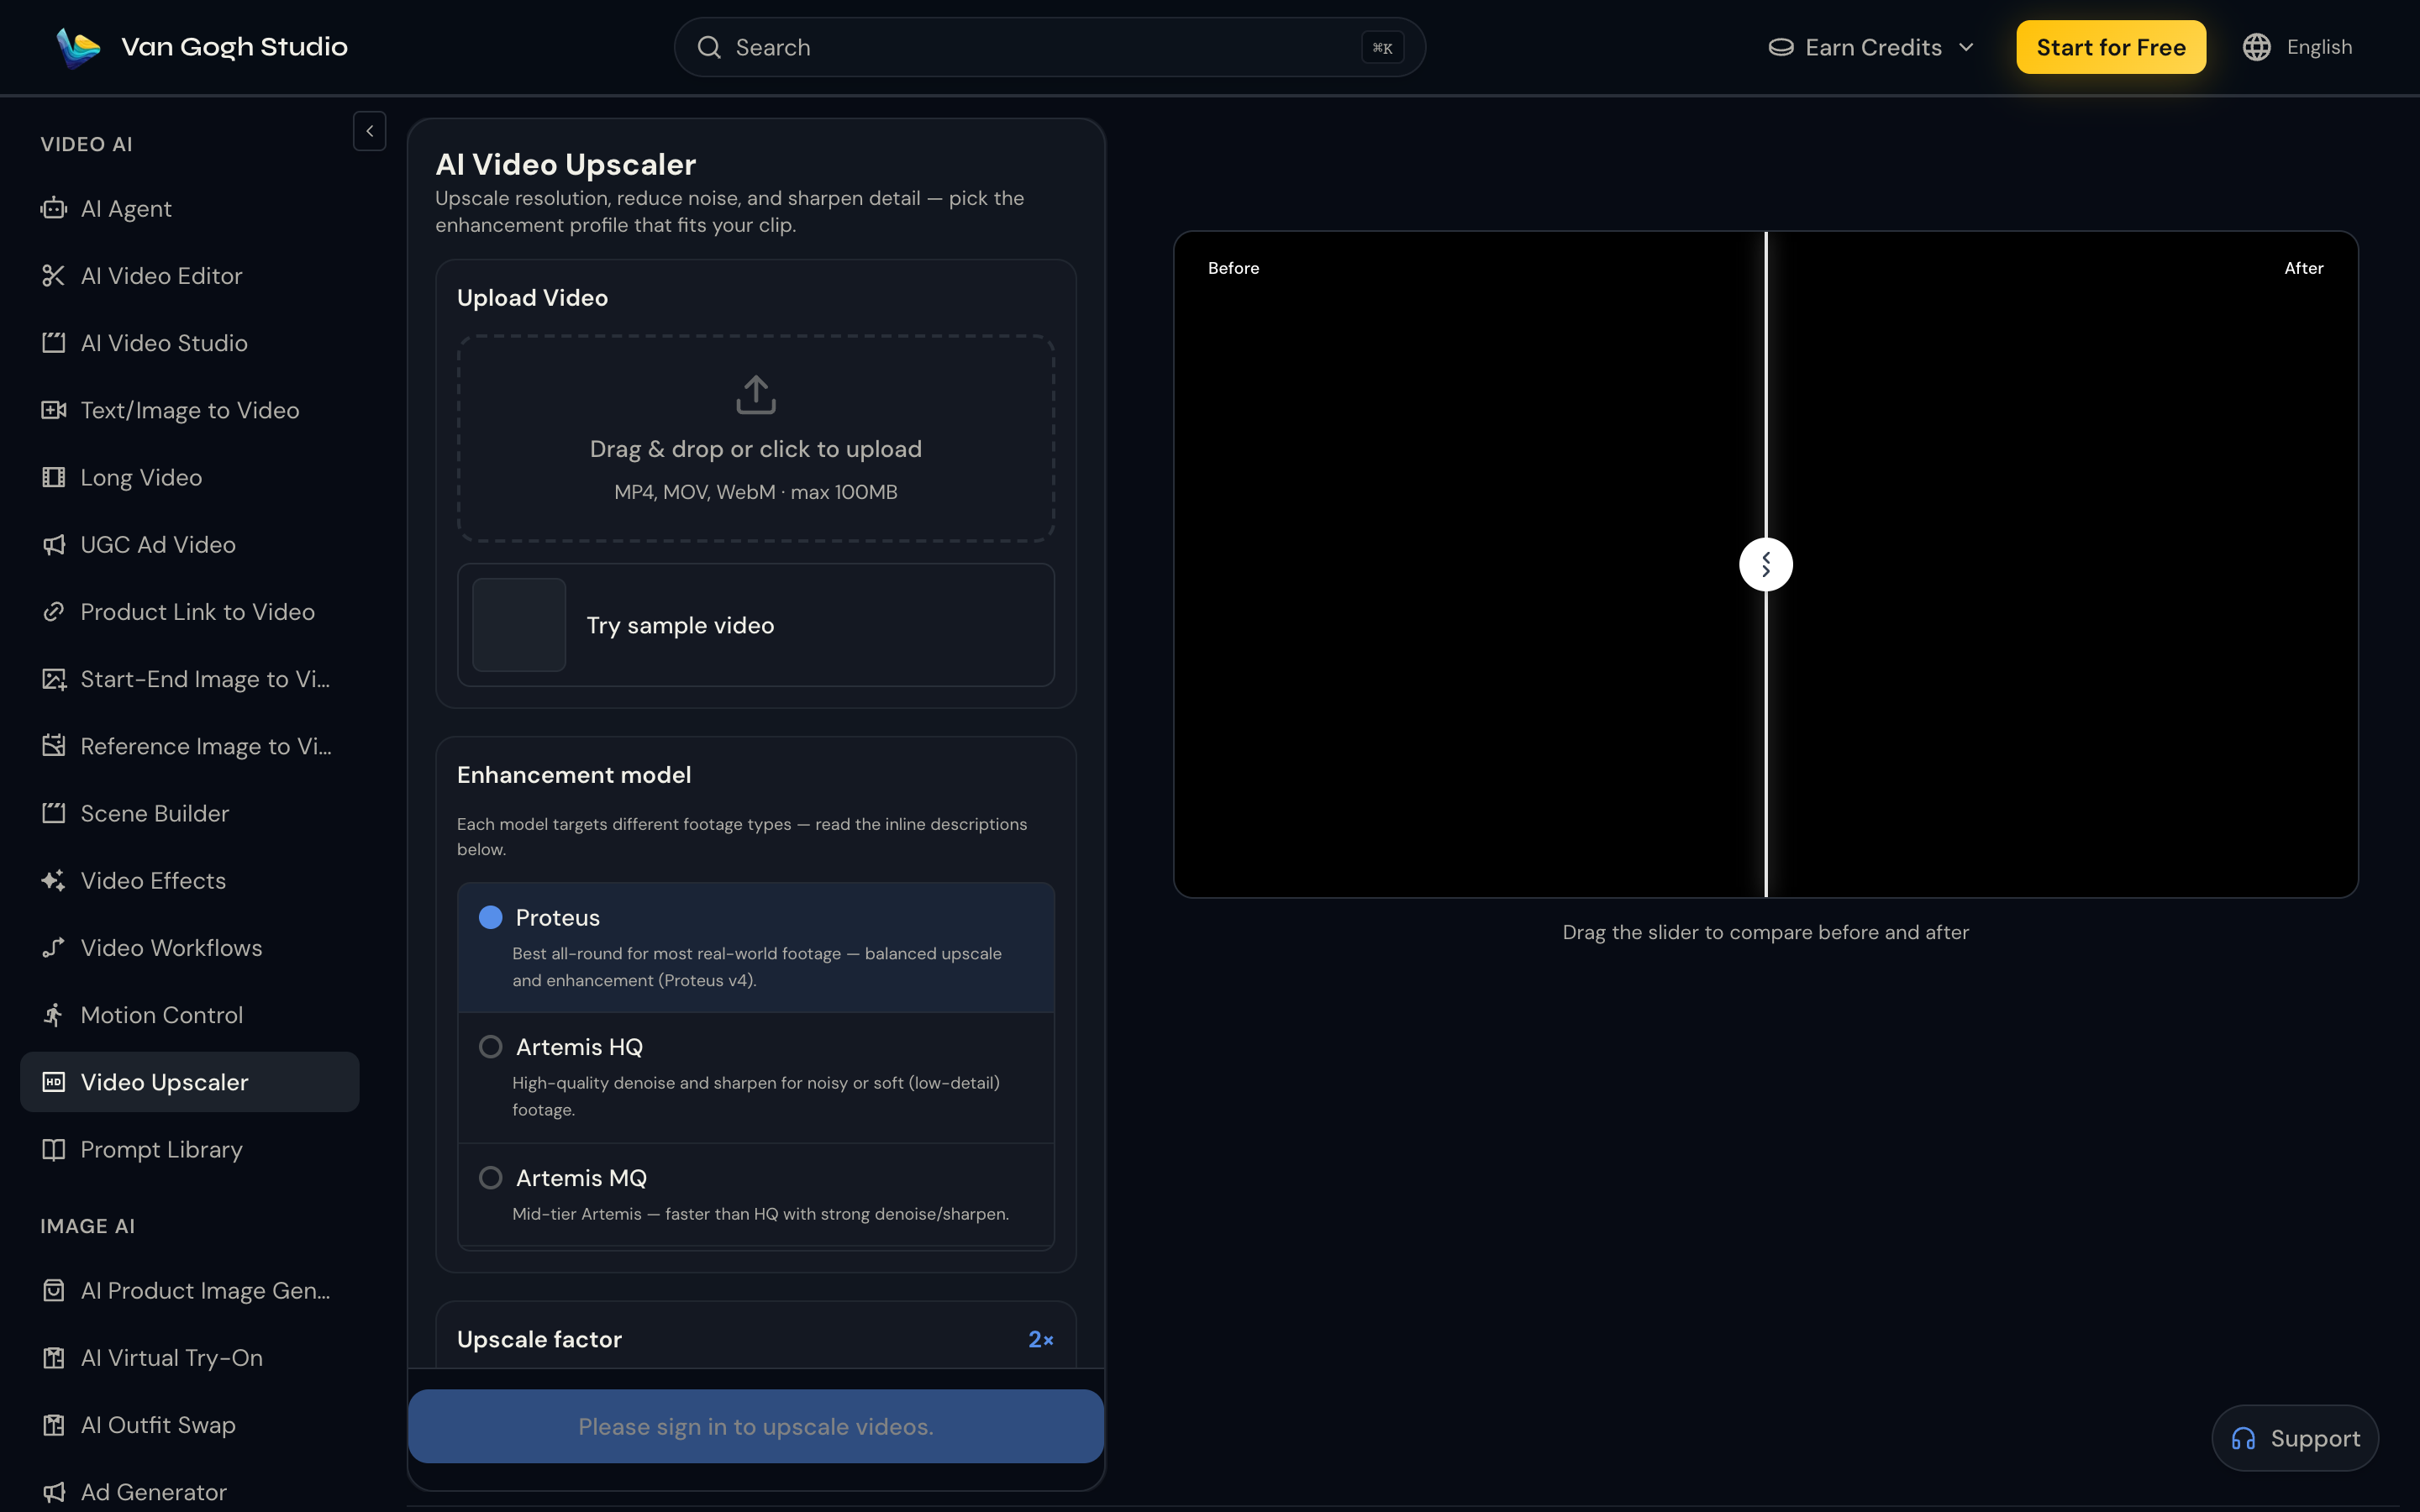
AI Video Upscaler enhances resolution with specialized models—not a blunt stretch. Upload MP4, MOV, or WebM (max 100MB), pick an enhancement profile, set 1×–4×, and run. It works on clips from phones, editors, social downloads, and other AI tools—not only Van Gogh generations.
How to Use Van Gogh Studio’s Video Upscaler
Step 1: Open Video Upscaler
Go to Video Upscaler (sidebar VIDEO AI → Video Upscaler).
Step 2: Upload Video (or Try the Sample)
Drag and drop a file, or click to upload. Formats: MP4, MOV, WebM · max 100MB. Use Try sample video to explore settings without your own file.
Step 3: Choose Enhancement Model and Upscale Factor
Pick a model that matches the footage:
- Proteus — best all-round for most real-world video
- Artemis family — denoise / sharpen for soft or noisy clips
- Nyx family — dedicated denoising for grain and low light
- Gaia family — CGI, animation, and motion graphics
- Starlight family — generative refinement, strong on AI-generated clips
Set Upscale factor (for example 2×; options include 1×–4×). Open Advanced parameters only if you need custom FPS (16–60), compression cleanup, noise/halo controls, or H.264 export—defaults work for most jobs.
Step 4: Upscale and Download
Sign in, confirm the credit estimate, and click Upscale Video. Processing time depends on length and factor. Compare Before / After with the slider, then Download the finished MP4.
Other Key Features on Van Gogh Studio
- Text/Image to Video — generate new clips from prompts or stills
- Image to Video — animate a single frame
- Long Video — multi-scene stories
- Reference Image to Video — subject consistency across shots
- Video Effects — template motion looks
- AI Agent — chat-guided production
Conclusion
Runway upscaling is fine when the clip already lives inside Runway. For everyday files—any source, model-based enhancement, up to 4×—use Van Gogh Studio’s Video Upscaler. Upload, pick a profile, upscale, and ship a sharper export in minutes.
Create AI videos free
Try Van Gogh Studio free — text-to-video, image-to-video, and 300+ models in one place. Free credits on signup, no credit card required.
Try Free Video Generator