広告なしの体験をご希望ですか?プランをアップグレードしてください。

AI動画


Course creators know the struggle: you pour hours into a video, but learners drop off halfway. Short clips work for social, but for actual teaching, you need longer, structured videos that hold attention. That's where a long video generator can help. Instead of stitching together dozens of clips manually, you can plan and produce a cohesive narrative that keeps students engaged from intro to outro.
In this guide, I'll walk you through a practical workflow using the Long Video feature on Van Gogh Studio (FreeVideoGenerator). You'll learn how to break down a course module, generate consistent scenes, and assemble them into a video that retains attention. No fluff, just steps you can apply today.
Attention spans are short, but that doesn't mean you should only make 30-second clips. For courses, longer videos (5–15 minutes) allow you to explain concepts thoroughly, build a narrative, and create a learning flow. The key is to keep each segment engaging. A long video generator helps you produce varied visuals that match your script, so learners stay curious about what's next.
Compared to editing stock footage or filming yourself, AI-generated visuals can be faster and more flexible. You can create abstract concepts, historical scenes, or product demos without a camera. The trade-off is that you need to plan carefully to avoid repetitive or off-brand visuals.
Before you open the generator, write a simple outline. Break your module into 3–5 key points. For each point, define:
This outline will guide your prompts and keep your video focused.
Go to the Long Video page on FreeVideoGenerator. For each scene, write a detailed prompt that describes the setting, action, and mood. Be specific about the subject and the environment. For example, instead of "a teacher explaining," write "a friendly female teacher in a modern classroom, pointing at a whiteboard with a glowing chart, soft natural light."
You can also upload a reference image to maintain character or style consistency across scenes. This is especially useful if you have a brand avatar or a specific visual theme.
If your course features a recurring character or a consistent brand look, use the image-to-video option. Upload a reference image for each scene to keep the character's appearance stable. This reduces the jarring effect of different-looking characters in each segment.
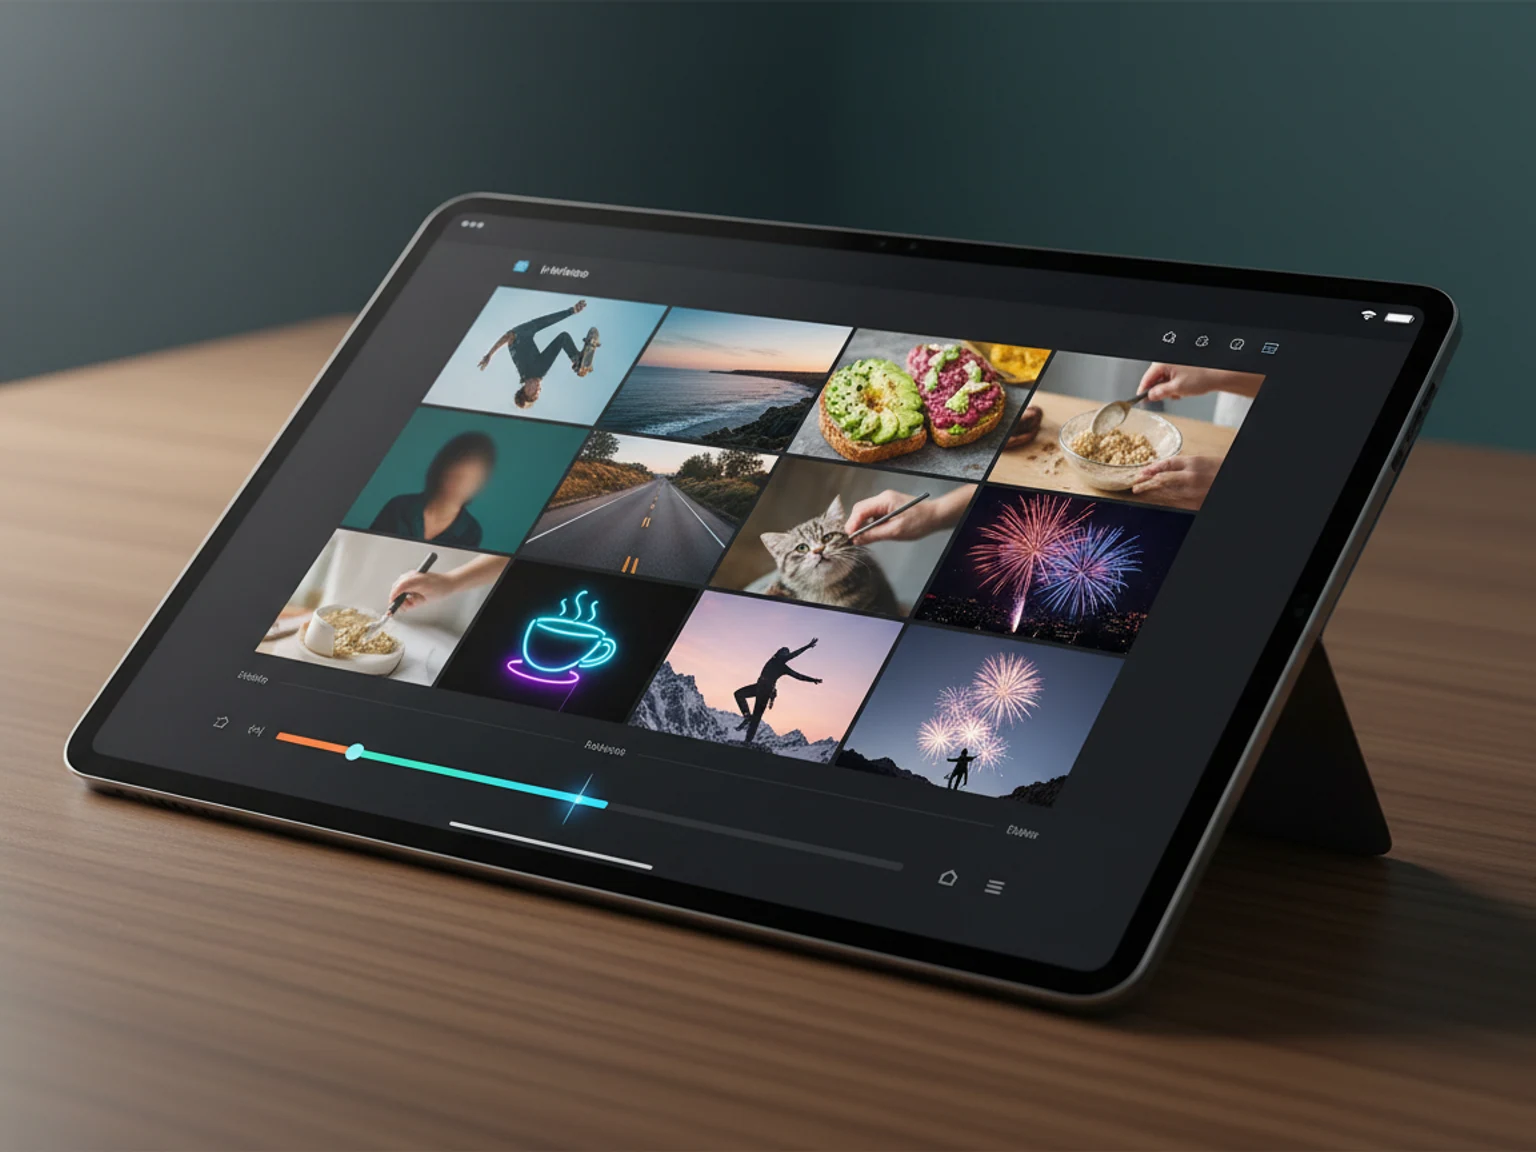
Once you have your scene clips, open the AI Video Studio. Here you can arrange the clips in order, trim the start and end, and add transitions. The studio also lets you add text overlays or captions, which are crucial for accessibility and retention.
To keep visual interest, apply subtle motion control to static images or use effects that match the mood. For example, a slow zoom in on a diagram can emphasize a key point. Avoid flashy effects that distract from the content.
If a scene feels too short, use the video extend feature to add a few seconds. If you need higher resolution for a professional feel, run the upscaler. This ensures your final video looks crisp on all devices.
Export your video and watch it end-to-end. Check for pacing, audio (if any), and visual consistency. Make notes for revisions, then regenerate specific scenes if necessary.
Here are three prompt templates you can adapt:
Parameter tips:
Ready to create longer, engaging course videos? Try the Long Video feature on Van Gogh Studio for free. Start with your 21 signup credits and see how easy it is to build a narrative that keeps learners watching. Generate your long video now.